If you come across the frustration of a WordPress missed schedule error, you’re not alone.
WordPress has a convenient feature that allows you to run scheduled tasks in the background. This feature does many useful things for you, like checking for updates, publishing posts at a specific time or scheduling backups via UpdraftPlus.
But sometimes, you may get an error indicating that your WordPress scheduler is not running tasks as intended. It will disrupt the timely execution of your scheduled tasks.
In this post, you’ll learn how to fix missed schedule post errors in WordPress. This will ensure your scheduled posts go live precisely when you want them to.
You can use the table of contents below to navigate to the method that interests you the most.
Table of contents
- Disable maintenance mode
- Configure your WordPress timezone settings
- Monitor recent site traffic
- Clear your website cache
- Increase your WordPress memory limit
- Check for disabled scheduler
- Set up a cron job
- Find a reliable hosting provider
1. Disable maintenance mode
When a WordPress site is in maintenance mode, it disables scheduled tasks of all kinds. So, if you encounter the WordPress missed schedule error, it’s important to confirm that maintenance mode is deactivated on your site. This action will enable scheduled tasks to resume functioning correctly.
Here’s a quick method to turn off maintenance mode in WordPress:
- Log in to your WordPress admin dashboard.
- Navigate to Settings.
- Look for the WP Maintenance Mode option.
- In the General Settings section, toggle the Status to Deactivated.
- Click the Save Settings button.
After following these steps, you will successfully deactivate maintenance mode on your WordPress site. Remember to check your site in a new tab to confirm it’s no longer in maintenance mode and the WordPress scheduler is working.
2. Configure your WordPress timezone settings
Another simple but essential step is to match your WordPress timezone with the one you use for scheduling tasks.
WordPress relies on accurate timezone settings to schedule tasks or publish posts at the correct times. If your timezone settings are incorrect, it can lead to the WordPress missed schedule error.
To configure your WordPress timezone settings:
- Open your WordPress dashboard.
- Navigate to Settings > General.
- Scroll down to the Timezone section.
- Using the dropdown, select the timezone you want to use for your WordPress website.
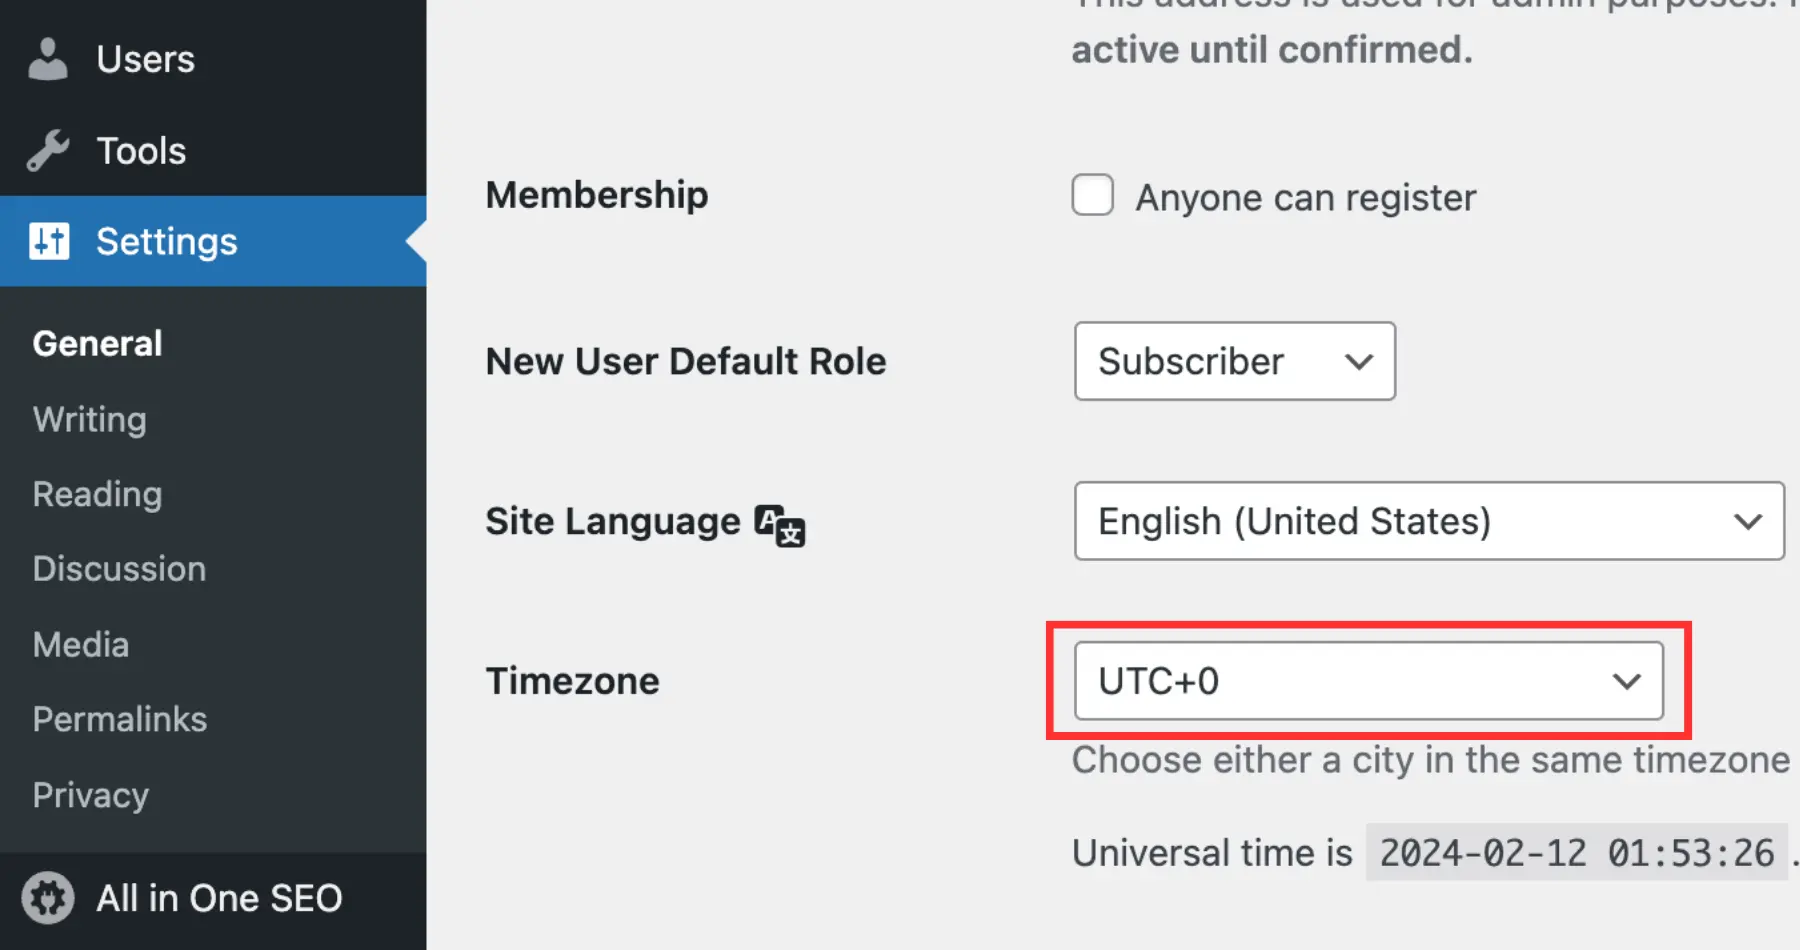
Click on the Save Changes button to save your settings.
3. Monitor recent site traffic
WordPress doesn’t perform background processes (such as scheduled tasks) when there are no visitors on your site.
For example, suppose your WordPress site is in development, and you schedule a backup run during off-peak hours when developers are not actively working.
In this case, the scheduled task may not run as expected. That’s because there are no active processes or visitors triggering WordPress to carry out the scheduled task.
That’s why you must consider site traffic and activity patterns when scheduling tasks in WordPress, especially when there is minimal or no site activity.
Consider boosting site activity during scheduled task times. Simply visiting a few pages on your WordPress site can activate the background processes. This approach ensures that scheduled tasks are executed without error.
4. Clear your website cache
Although caching speeds up website loading times, it can sometimes store outdated content that may interfere with scheduled tasks.
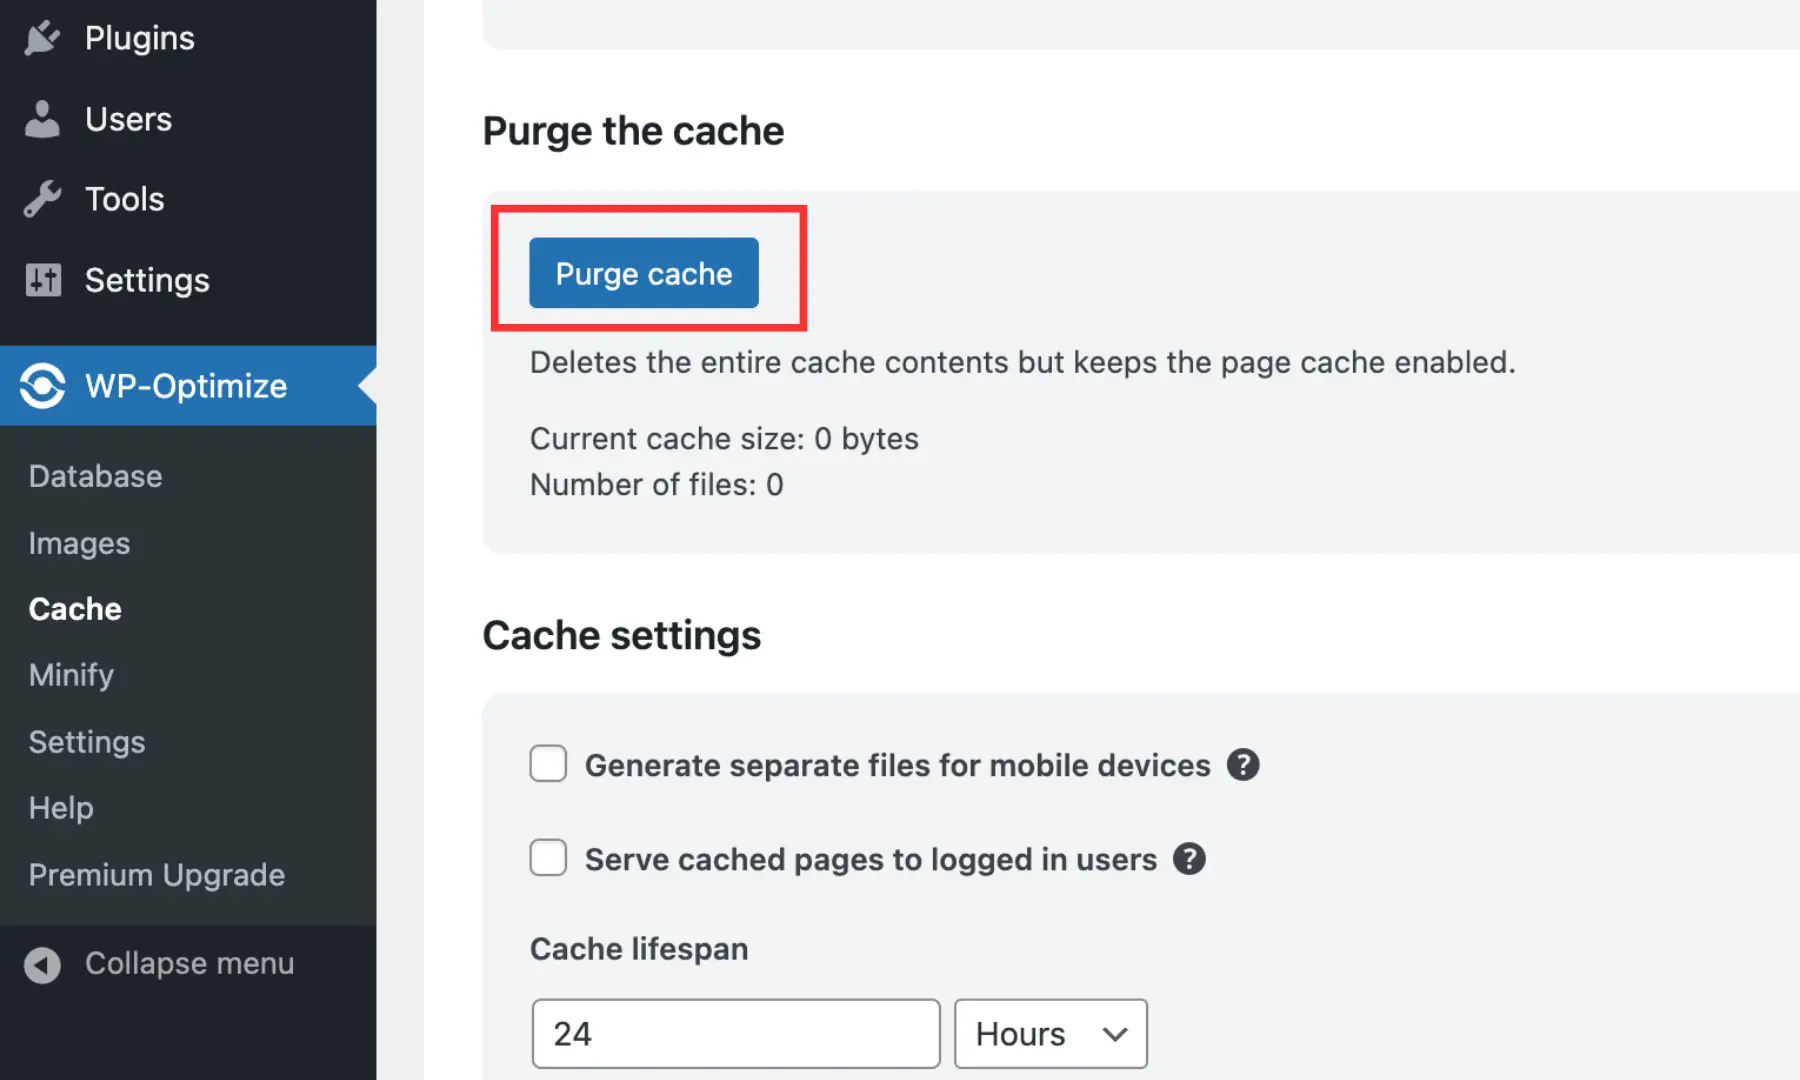
To clear the cache in WordPress using a caching plugin like WP-Optimize:
- Open your WordPress dashboard.
- Navigate to the WP-Optimize tab and select Cache.
- Scroll down and click on Purge cache.
The specific steps may vary slightly depending on the plugin you’re using. You can navigate to the plugin settings in your WordPress admin dashboard. There, look for an option to clear or purge the cache. Follow the plugin’s instructions to clear the cache.
5. Increase your WordPress memory limit
It’s also possible that your WordPress site needs more memory than what is currently allocated to schedule tasks properly. An easy way to increase the memory limit is by editing the wp-config.php file.
First, you’ll need to access your wp-config.php file using an FTP client (like FileZilla) or your hosting provider’s file manager. You can find this file in the root directory of your WordPress installation.
Open the wp-config.php file in a text editor and look for a line that defines the memory limit for WordPress. It is located just before the line of code that says, ‘That’s all, stop editing! Happy publishing.’ and looks like this:
define(‘WP_MEMORY_LIMIT’, ’64M’);
The value ‘64M‘ represents the memory limit in megabytes. You can increase this value to a higher number based on your website’s requirements. For example, you can set it to ‘128M’ or ‘256M’ depending on your needs.
Don’t forget to save the changes once you’ve modified the wp-config.php file. You can then re-upload your updated wp-config.php file back to your server.
After increasing the memory limit, visit your website and check if your WordPress missed schedule error has been resolved. You can also schedule a post to check if it publishes correctly.
Expert tip: Before making any changes to your wp-config.php file, it’s always a good idea to create a backup of the original file. This way, you can revert to it if anything goes wrong.
6. Check for disabled scheduler
You might also want to check if your site has WordPress’s scheduler disabled in the configuration.
For this, look for a line like this in your wp-config.php file:
define(‘DISABLE_WP_CRON’, true);
You need to remove it or change ‘true‘ to ‘false‘. Make sure there are no quotation marks around ‘false‘.
It’s essential to note that if your web hosting company intentionally disabled the scheduler, they may re-disable it.
Alternatively, you might have turned it off yourself with an alternative scheduling method in your web hosting control panel. In this scenario, remember you’re responsible for ensuring it’s called frequently enough to handle scheduled tasks.
7. Set up a cron job
If your web hosting company offers “shell” access and allows you to set up cron jobs, then that’s a good solution. Tasks executed through cron jobs bypass any time-out issues imposed by the web server.
However, this approach is for technically proficient users comfortable with command-line interfaces. Errors in setting up cron jobs can potentially impact your website. So, if you’re unsure about cron jobs, we suggest exploring alternative solutions.
Alternatively, you can consult your hosting provider or a WordPress developer for assistance.
8. Find a reliable hosting provider
If you still find your WordPress scheduler not working even after following the above methods, it’s highly likely that the issue lies with your web hosting provider.
In this case, your best course of action is to reach out to your hosting company for support. If they are unable to resolve the issue, you may need to consider switching to a different web hosting provider.
Some of the popular hosting options include Hostinger, Bluehost, and SiteGround.
Conclusion
Even though WordPress offers a task scheduling feature, there are instances where you might come across a WordPress missed schedule error.
Luckily, there are several ways to resolve this missed schedule error in WordPress. By following the solutions outlined in this post, you can avoid WordPress schedule issues and ensure the smooth operation of your WordPress site.
Remember, it’s always crucial to create a backup before implementing any changes to your site’s configuration.
For a comprehensive backup solution, consider using UpdraftPlus. It’s an efficient WordPress backup and migration plugin trusted by millions worldwide. Learn more about UpdraftPlus, or contact us if you have any questions.
FAQs
How do I fix a scheduled event late in WordPress?
To fix a scheduled event running late in WordPress:
- Monitor recent site traffic
- Clear your website cache
- Increase your WordPress memory limit
- Check for disabled scheduler
- Set up a cron job
- Find a reliable hosting provider
Why is my schedule post not working in WordPress?
Some of the reasons include differences in time zones, server-related issues or misconfigurations in WordPress settings, such as disabled scheduler functions. It’s essential to troubleshoot by checking server resources and reviewing WordPress cron settings to ensure scheduled posts function correctly.
What is the missed schedule plugin for WordPress?
This plugin offers a reliable way to schedule posts on websites with low traffic. In such cases, the standard scheduling method may not always be accurate due to the combination of low visitor numbers and frequent updates.
Posted in: Troubleshooting
![]()
![]()
![]()