Google Drive is the trickiest of the remote access methods to set up. The following instructions should see you through – but if you get stumped, then don’t fear. You can buy a setup support package from our shop; or try out one of the other cloud methods (e.g. Amazon S3, Dropbox, Rackspace Cloud Files – the easiest is Dropbox).
Note: The Google Drive authentication procedure requires that your website has a publicly reachable address (i.e. the https://etc… link can be reached from the Internet). Therefore, it does not work for websites on local development machines that are not reachable from the Internet. (Use Dropbox, Amazon S3, Rackspace Cloud Files, DreamObjects, FTP, SFTP or WebDAV instead).
1. Visit the Google API console, and create a new project
To allow UpdraftPlus to have access to your Google Drive account, click on the link to your API console to take you to Google; then click on the “Create project…” link.

If asked, give the project any name you like.
2. Activate the Drive API
Find ‘Drive API’ on the list of services:
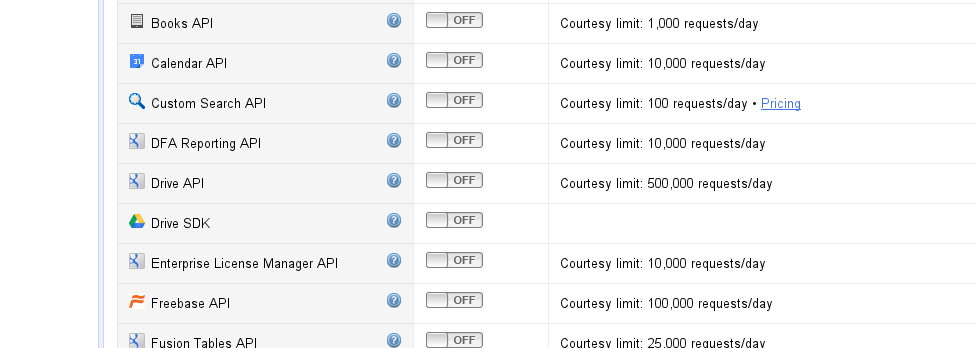
Note: that was Drive API, not Drive SDK. Activate it, so that it becomes an active service:

3. Set up API access credentials (OAuth)
Move to the ‘API Access’ tab (from the left menu), and click on ‘Create an OAuth 2.0 client ID’ (do not bother trying to use the key from ‘Simple API Access’, as that is insufficient):

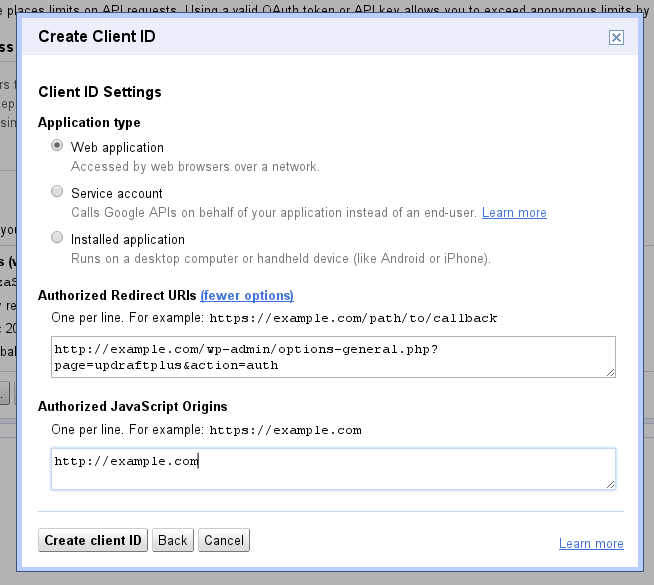
Next, enter some details:
- The only ‘branding information’ you need to enter is ‘UpdraftPlus’ (or whatever other label you please – it does not matter).
- When asked, choose a “Web Application”
- When asked, paste in the URL that was shown to you on your UpdraftPlus settings page back in your WordPress admin console: (do paste it from there – don’t copy any screenshot below). You must click “More options” before you find the place to enter this URL.
Screenshots:

Remember to click ‘More options’ to see the authorized redirect URLs:
4. Go back to UpdraftPlus, and enter the details
You should now have a client ID created. Paste the details back into the UpdraftPlus settings page in your WordPress admin console. Save the settings.
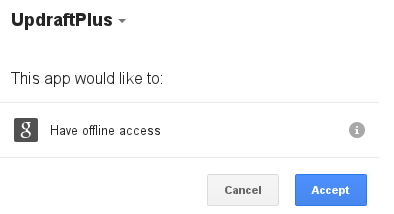
Then follow the link that WordPress will show you, to complete authorisation.
Not yet taken a look at UpdraftPlus Premium? Read more about it here…