Note: This guide assumes that UpdraftPlus is installed on the site to be managed (the ‘child site’ / ‘managed site’), and UpdraftCentral is installed on the managing site (i.e. the site that has the dashboard, which we will call the ‘Mothership’ – which, if you are using the UpdraftPlus.com dashboard, it is, of course). Please see the following guides on how to install each:
- Installing UpdraftCentral (the one central dashboard – if you’re using the UpdraftPlus.com dashboard, then this is already taken care of)
- Installing UpdraftPlus (do this on the controlled sites): Premium version | Free version
To proceed, you can either watch this short video that includes all 3 methods of adding a site to UpdraftCentral, or follow the text-and-screenshots guide below.
Step 1 – Go to the key management configuration in UpdraftPlus
Log into the child site’s WordPress dashboard and navigate to the UpdraftPlus Settings page.
Open the ‘Advanced Tools’ tab. There you will find the ‘UpdraftCentral (Remote Control)’ settings:
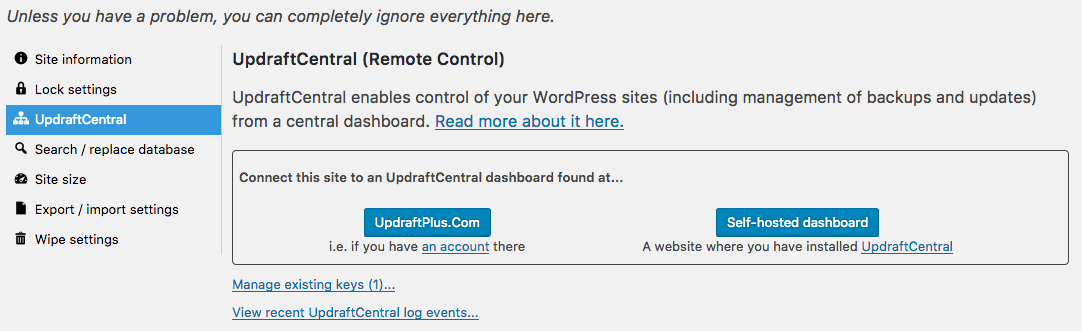
Step 2 – Select your UpdraftCentral dashboard location
Next you will be asked where your UpdraftCentral dashboard located, if it is hosted by us then choose “UpdraftPlus.com”. If it is hosted by you, then select the “Self-hosted dashboard”.
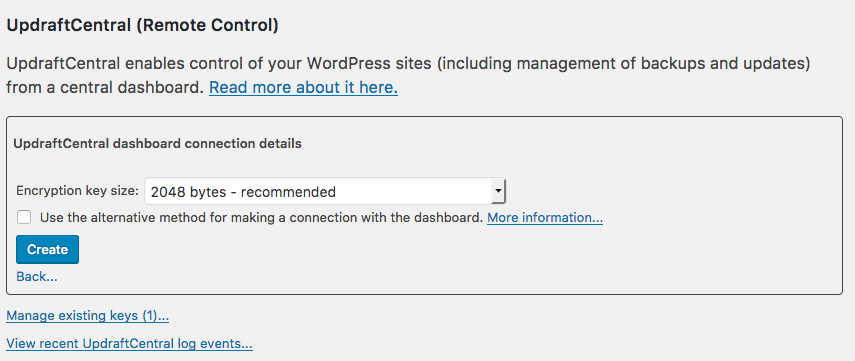
Step 3 – Create your key
For UpdraftPlus.com, press the “Create” button. This will generate a key for you that you will need to copy and paste to your dashboard. Most users won’t need to change the key size or the connection method, but if you do then change these before pressing create.
- If required, you can select to use the alternative connection method. You should use this if your dashboard is running on localhost and your child site is not – or if the default method fails. If in doubt, try it – it is harmless.
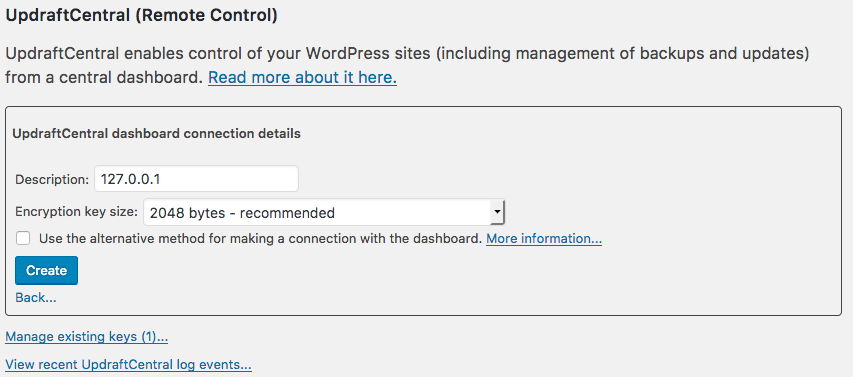
If your dashboard is self-hosted, then enter the URL of the site which hosts your dashboard and press next to be taken to the next step.

You should see that the description for the site has already been pre-filled with the sites host name. You can leave this as it is, or you can change it to something else as it’s just a label.
As when UpdraftCentral is hosted at UpdraftPlus.com, you can just press the “Create” button to generate a key ready to be copied to your dashboard.
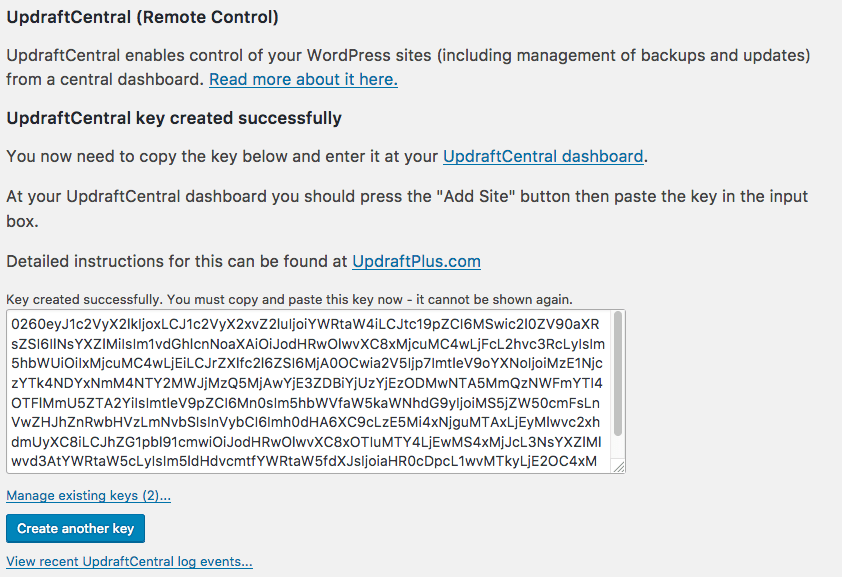
Step 4 – Copy the key to your clipboard
UpdraftPlus will now generate a new key and display a success or failure alert.
After the key is generated, it will be displayed below the instructions. Copy this key to the clipboard. Please note that this key will only be displayed once, so please ensure that it has copied correctly before closing or reloading the page.
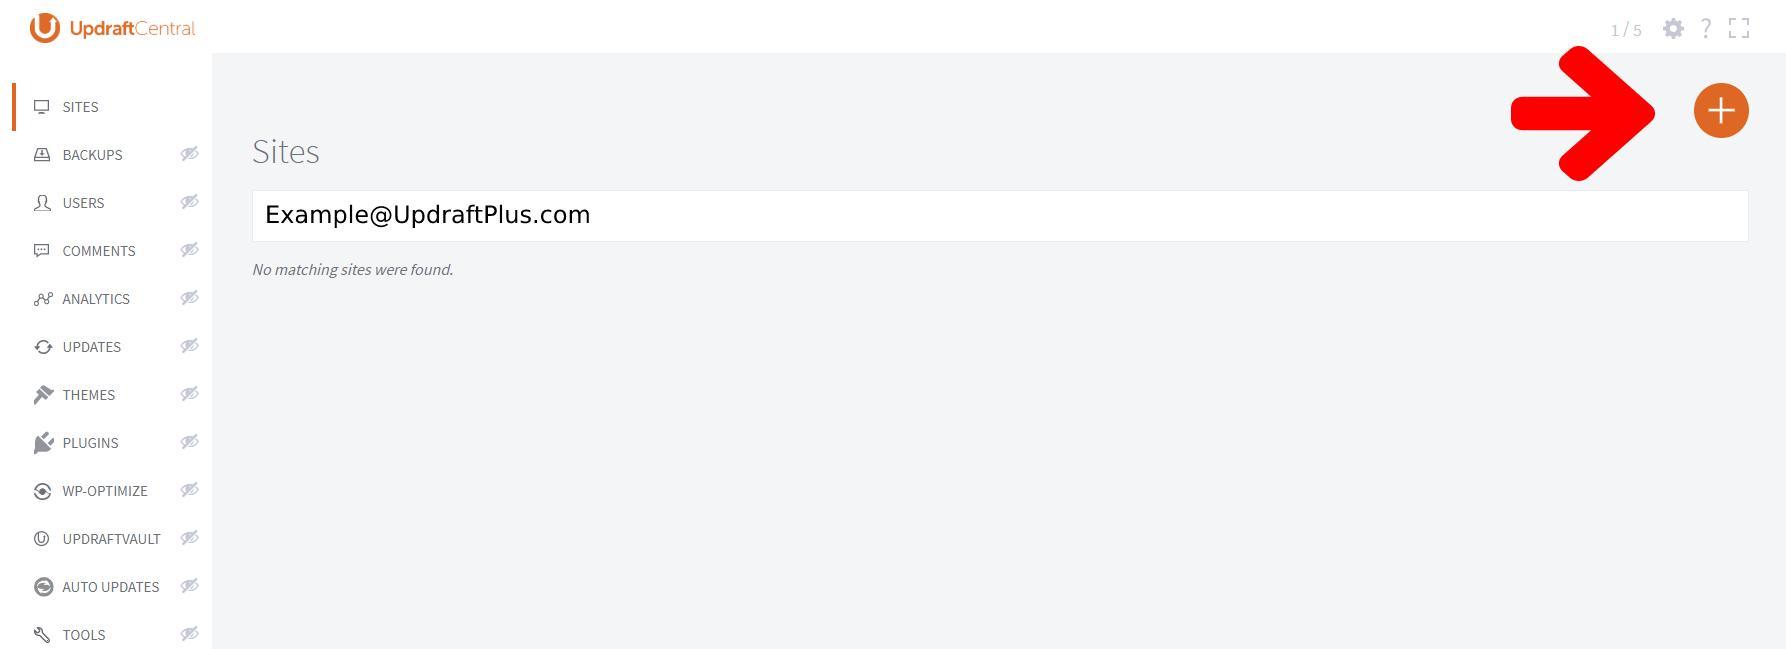
Step 5 – Paste the key in UpdraftCentral
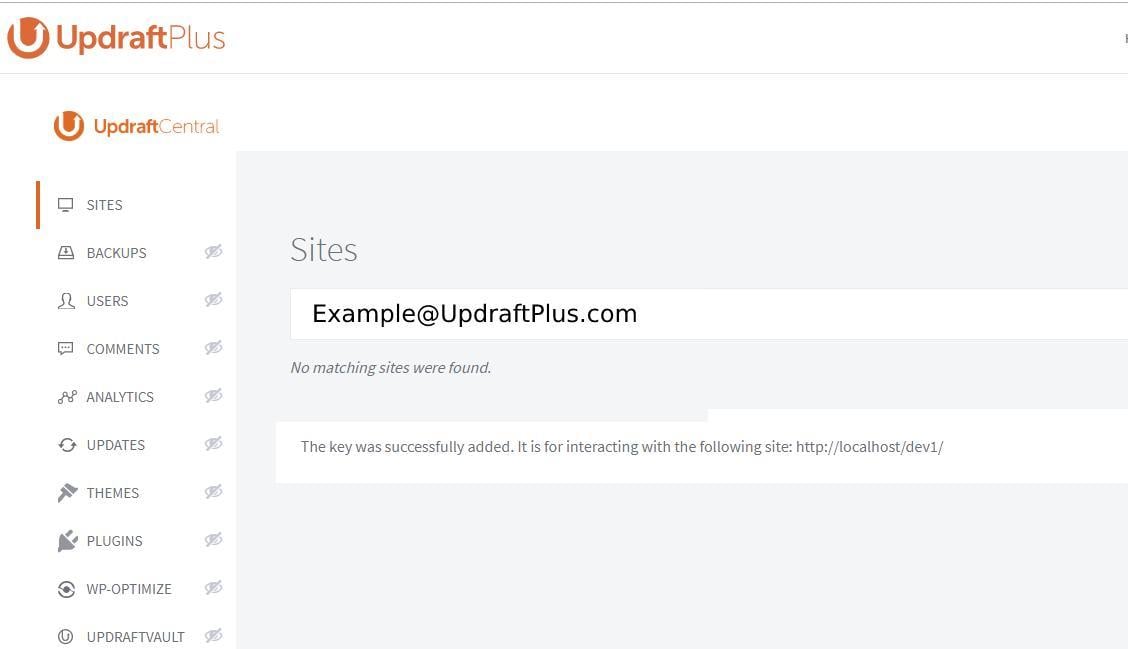
Open the UpdraftCentral page on the page that hosts your dashboard (either UpdraftPlus.com or your own site page). In the main UpdraftCentral page, click the ‘Add Site’ icon.
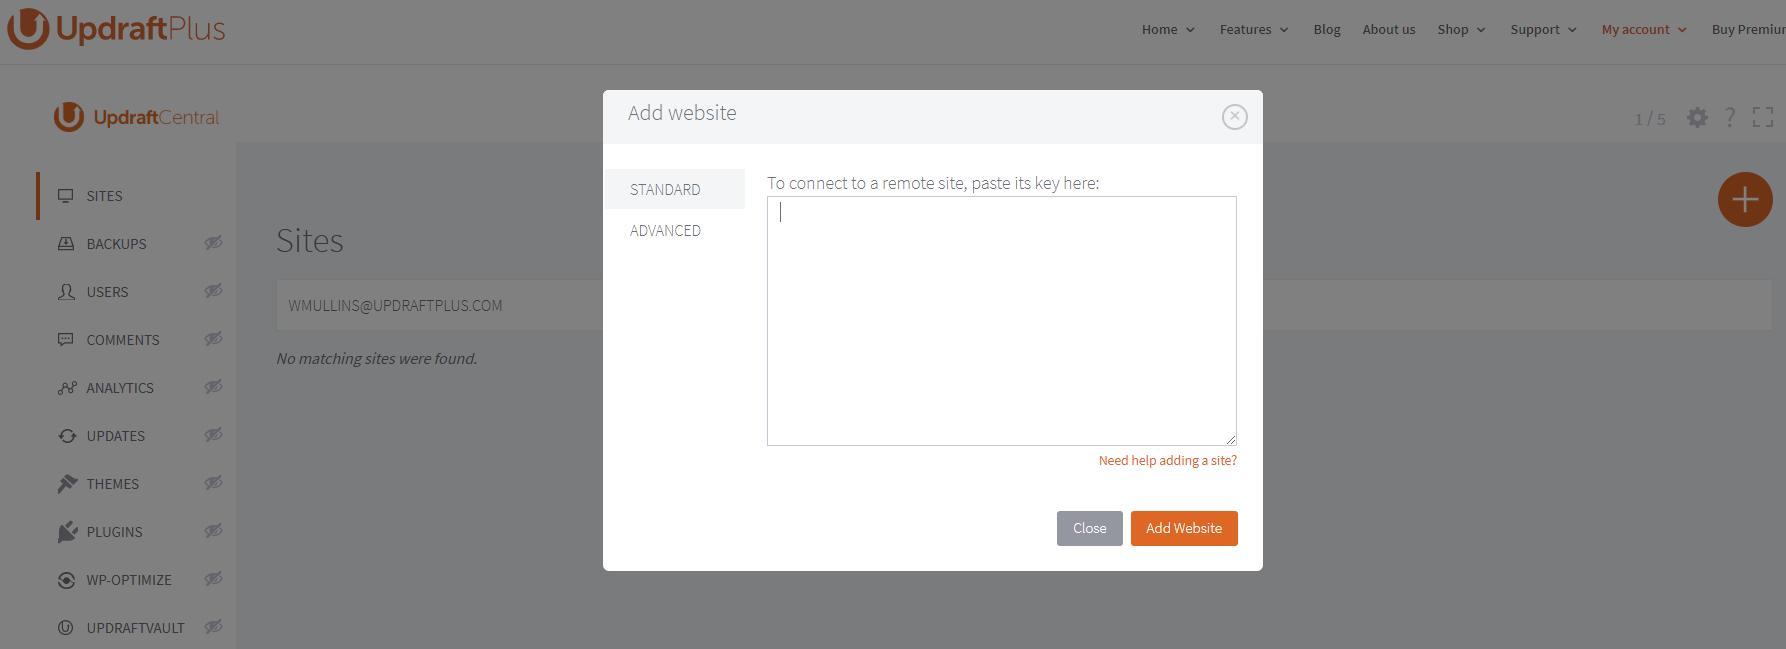
A pop-up will appear. Paste the key you just copied from the child site into the text box and click ‘Add Website’. You only need to open the “Advanced” options if your website has HTTP authentication or other security restrictions beyond those in WordPress – see here for more information:
Step 6 – Read the confirmation that the connection was made
A confirmation message should appear, indicating that the connection was a success. The exact appearance of this message will depend upon whether the “alternate” confirmation method is being used or not.
The child site has been successfully added to UpdraftCentral and is ready to be remotely managed.