Note: These screenshots/instructions are aimed at the newer Azure portal (last updated: November 2015). If you are using the older portal then some of the layout will be different.
1. Sign in to Microsoft Azure
Sign into your Microsoft Azure account using this link; https://portal.azure.com.
2. Create a new storage container
To create a new storage container click the “Storage accounts (classic)” link on the left hand side of the screen (look under ‘Browse’ if you cannot see this option). Click the “Add” button.
You will then have options available to enter your storage name. This can be anything you like. You can also choose other Azure storage options (such as the pricing tier).
You will also need to create or add a ‘Resource Group’.
Once you have entered the required details click the “Create” button.
The storage name you entered when creating is the name which will be entered into the UpdraftPlus storage account options:
3. Get your keys, for entering into UpdraftPlus
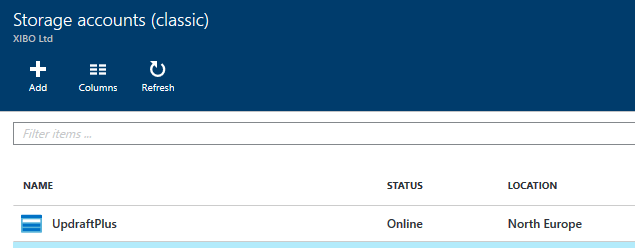
Go back to the “storage accounts (classic)” screen and your new storage will be listed for you (as below). Clicking this will then show more options for the account.
Scroll to the right, and then on the settings ’tile’, under the manage header click “keys”. From here you can see your storage name, primary and secondary key, and other details.
Copy either the primary, or secondary key (reasons why there are two access keys can be found here). Then, paste this into UpdraftPlus’ storage settings.
4. Choose a container name
The Azure “container” option in UpdraftPlus will be the name of the container inside the storage. This can be whatever you wish. It does not need to already exist – if it does not exist, then UpdraftPlus will create it for you.
Finally, the Azure prefix (which is optional) will be a folder inside the storage container. For example, if you was to set the prefix to be “backups”, and the Azure container as “UpdraftPlus” then backups will be stored under the “wordpress/” directory inside the container. Note that in Azure, folders are “virtual” – i.e. whether they show as folders, or simply as long path names, depends on the tool that you are using.
5. Test your settings, and then save them
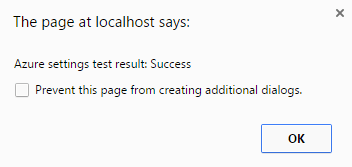
To ensure that your settings were entered correctly and are working then click the “Test Azure settings” button. After a short delay, a message will be displayed depending on if the test was successful or not.
 Don’t forget to save your settings!
* * *
You’re now finished: the notes below show show you how to browse your files on the Microsoft Azure management website; this extra information is given just for help (of course, UpdraftPlus do not run the Microsoft Azure management website!).
To browse the files go to the list of storage accounts, click the one you wish to browse, then on the panel to the immediate right click “blobs” (found under “Services)”.

This will open another panel to the right, which will have a list of the Azure container specified in the UpdraftPlus settings.
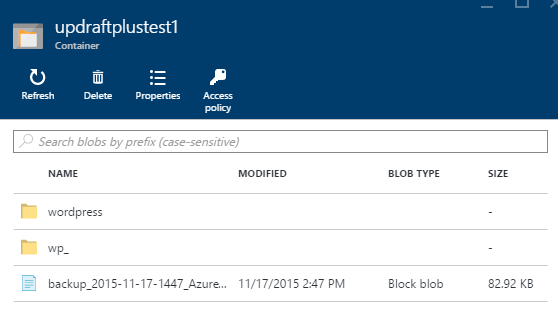
Click the container which you have specified, a window will then show on the right which will display a list of directories, and files which are inside the storage container. This list of files can be browsed like a normal file system.
Posted in: Microsoft Azure (blob storage)


