Building a website can be a complex and time consuming process that is usually comprised of 3 stages of production – Development, Staging and Production. Each of these stages has its own URL to access the website; as such users need to be aware that when migrating a site through each stage, it is essential that the user makes sure everything is migrated correctly without any bugs. If anything goes wrong during one of these stages, it could result in a broken website.
As well as the development process of a new or redesigned website, many users also perform a migration when moving the site to another domain.
A typical website migration involves the following tasks:
- Move all files and folders
- Move the database
- Change all URLs in the database to match the new domain
In this blog, we will walk you through how to easily migrate a website to another server using the UpdraftPlus Migrator feature. Using the Migrator add-on, a user can migrate or clone their website in a matter of minutes, with Migrator even taking care of replacing the serialised database. Users of Migrator will not need to deal with the hassle of FTP or CPanel when uploading files and folders as Migrator moves all of these in the background for you.
Getting started
To get started, install a copy of the Migrator add-on feature or upgrade to UpdraftPlus Premium, which represents the very best value as it includes the Migrator Add-On and 12 months of support, plus its Developer package comes with unlimited Add-On licences.
To explain how Migrator works, we are going to assume you have a development and staging server.
Assuming all development work is completed on your site, the next stage is migrating it to your staging server. First, ensure your staging server has a fresh copy of WordPress installed. Next, to perform the migration process, install and activate the UpdraftPlus Migrator feature on both the Development and Staging server.
Before proceeding any further, make sure you turn off any proxies between you and your site, such as Cloudflare, GoDaddy’s “Preview DNS” proxy or Opera Turbo/Road mode as these can potentially interfere with the clone process. Caching and minifying plugins are also a possible cause of migration problems. If possible, disable these before you create your backup – or alternatively, turn them off if the migration stumbles.
Migrate your WordPress site to another server using Migrator
- To start the migration process, login to your staging website.
- Head over to Settings>UpdraftPlus Backups>Migrate / Clone.
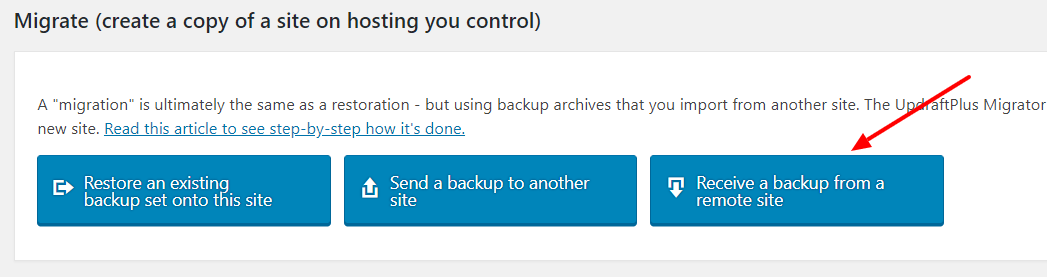
- Click on the ‘Receive a backup from a remote site’ button in the Migrate section.
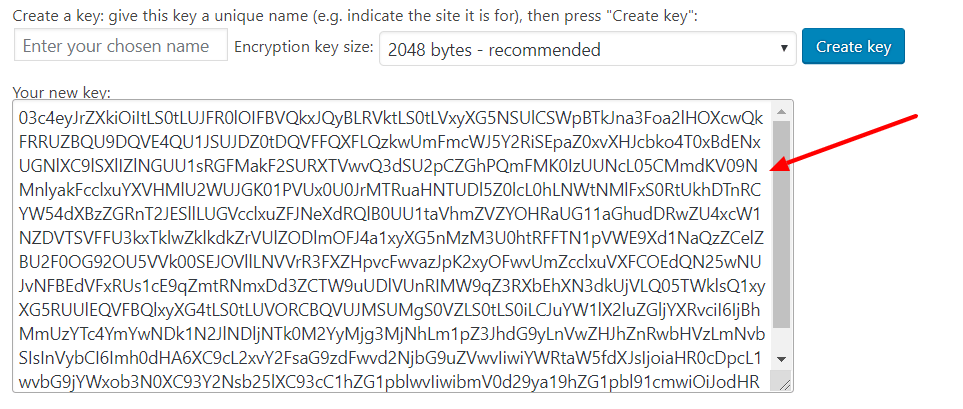
This will open settings. Click on the ‘Create Key’ button.

Copy the generated key. You will need this for the next few steps. The key acts as a bridge for transporting data from source to destination site.
- Next, login to your development site.
- Go to Settings>UpdraftPlus Backups>Migrate / Clone.
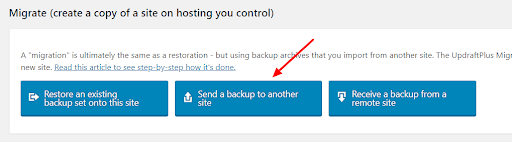
- From the Migrate section, click on the button ‘Send a backup to another site’.
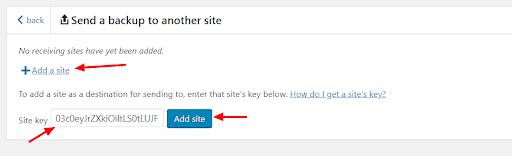
Click on the ‘Add a site’ link and add the generated site key that was created in the previous steps in the ‘Site Key’ box and then press ‘Add site’.
After adding a key you should now see the destination site URL. This means you are ready to migrate from development to staging server. Click the ‘Send’ button.

After clicking on the Send button, you will be asked to select the options that you want to clone. Choose all options except ‘WordPress core’, as you have already installed WordPress on the destination site.
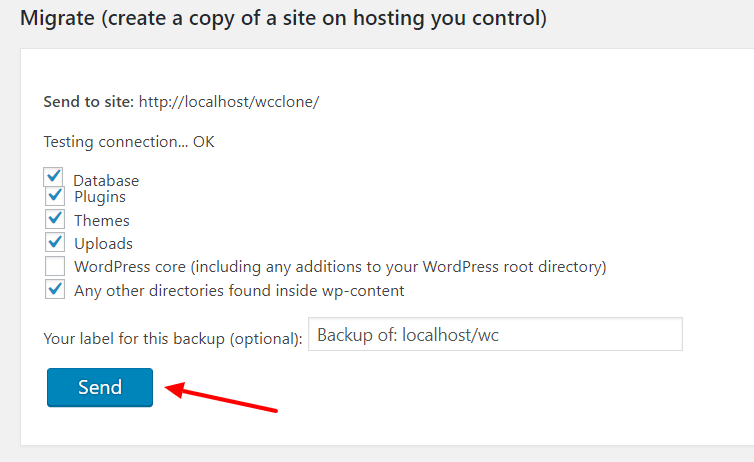
- Once you have ticked all the options required, click the ‘Send’ button.
- UpdraftPlus will now start the process of migrating your site to the destination site. This could take some time depending on the size of your website.
- After completion of the process, you should see a new backup visible in ‘Existing Backups’.

This new backup indicates that the source site has successfully sent a backup set to the destination site.
Restore the backup on the destination site
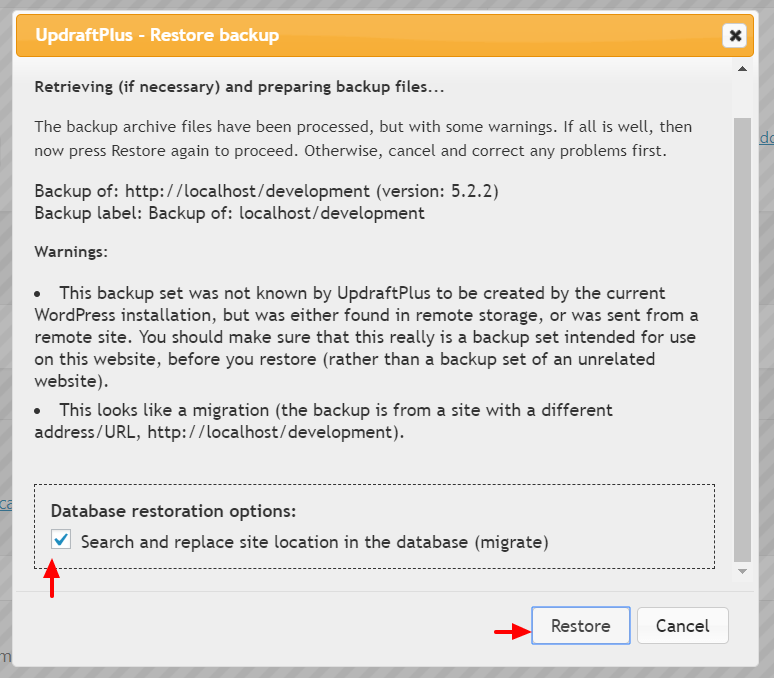
Once you have completed the above steps in the destination site, Click the ‘Restore’ button and then select all options.


Next, you will see a checkbox for database restoration options. Tick the checkbox and continue the process. As we are restoring the database of the source site, we need to update the URLs with the new site URLs.
Wait for UpdraftPlus to finish the process of migration. Once complete, log out of the dashboard and login again. You should see now your site is migrated successfully.
That’s it! It’s really that simple to migrate a website from one server to another using Migrator.
Get Migrator by upgrading to UpdraftPlus Premium or by adding the Migrator feature today.
![]()
![]()
![]()