With 3 million+ active installs, UpdraftPlus is one of the most popular and trusted WordPress backup plugins currently on the market. The popularity of the plugin is due to its simplicity and wide variety of features, including the ability to easily backup a WordPress site and restore backups created by other backup plugins, such as BackupWordPress.
However, unlike UpdraftPlus, BackupWordPress does not give the user an automatic restore option. This mean BackupWordPress users are forced to restore their sites manually by uploading all your files and folders via FTP and importing the database using phpMyAdmin. This task can be painstakingly dull and complicated, even for someone with developer experience.
Restoring your backup using UpdraftPlus Premium
Fortunately, there is a great solution to help users restore their BackupWordPress backups using UpdraftPlus Premium. Please be aware that you can use the UpdraftPlus free version do a basic restore but if you want to restore from a BackupWordpress backup, this feature is only available with the UpdraftPlus Premium plugin.
Note: The Premium version of UpdraftPlus has many other useful features, which you can read about here.
Once you have installed and activated the UpdraftPlus Premium plugin, it is a relatively straightforward process to use one of the two methods to add and run your BackupWordPress backups to UpdraftPlus.
Method 1
- The first step is to find the backup files. BackupWordPress plugin creates a directory with prefix
backupwordpress-inside thewp-contentdirectory.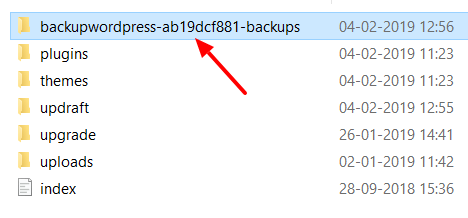
- All the backups made by the BackupWordPress plugin are saved inside this directory. Our example is shown below:
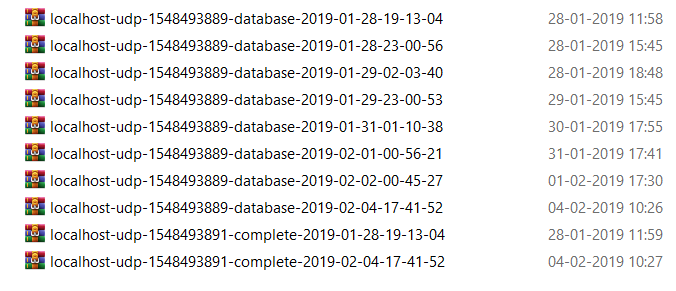
- Copy your backup zip files from the above directory and paste it inside the
wp-content/updraftfolder. - Next, go to the settings page of UpdraftPlus. Click on the ‘Rescan local folder’ for new backup sets’ link. This will rescan the
wp-content/updraftdirectory and add new backups within ‘Existing Backups’.

- If everything worked, your new backup files will now be visible in the list. You can now restore your backups and also use the other useful features provided by the UpdraftPlus Premium plugin. You can also upload this backup to remote storage if required.
Method 2
This method is almost the same the first, but instead of copy/pasting your backup files, you can upload your BackupWordPress backup file to the ‘Existing Backups’ list.
- On the UpdraftPlus settings page, click ‘Upload backup file’.
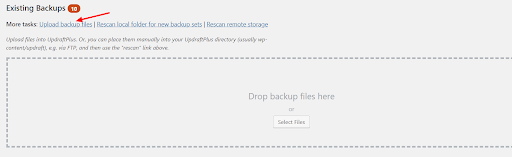
- Next, choose the locally stored backup file.
- After the upload process is complete, your backup will be present in the ‘Existing Backups’ list.
- Once the backup is present in the UpdraftPlus list, you can select it and click the restore button. In just a few minutes you should have restored your files and database.
That’s it for this tutorial! We hope this explains everything you needed to know on how to add and restore a BackupWordPress backup using UpdraftPlus Premium.
If you have any questions, please let us know in the comments below.
![]()
![]()
![]()