N.B. This guide only applies to setting up your own app (with own client ID / secret) to access OneDrive. If you don’t know what this means, then this guide isn’t for you, and you can ignore it. It is non-standard and not something many people are likely to have an interest in. Most users will use the built-in app.
OneDrive for business users: Custom apps are currently not supported and will have to use the standard OneDrive connection method.
Firstly, you will need to add this to your wp-config.php (unless you have a previous app already configured). Otherwise, the options will not appear, and you will use the standard app:
define('UPDRAFTPLUS_CUSTOM_ONEDRIVE_APP', true);
OneDrive setup with your own app takes a little effort. The following instructions should see you through – but if you get stumped, then don’t fear. You can buy a set-up support package from our shop; or try out one of the other cloud methods (e.g. Amazon S3, Dropbox, Rackspace Cloud Files – the easiest is Dropbox). You can also try searching YouTube for videos… various people have made UpdraftPlus videos (but they may be out of date, of course, and not an official resource, so don’t blame us, etc.!).
Here is one that we made a few months ago which overall hasn’t changed. Keep an eye out for an updated version however in the near future:
Note: The OneDrive authentication procedure forbids you to use “localhost” or “127.0.0.1” as your site’s host name. It also requires (for new setups from August 2016) have an SSL-website. Therefore, you must have an SSL certificate (i.e. https) and it does not work for websites on local development machines unless you use a different host name (it will then work). So, if you are using a site visited at https://localhost or https://127.0.0.1, then you can set up alternative DNS to point to your local development machine, as well as setting up SSL, and this will work instead (e.g. https://localhost.dev), or you can use a different cloud storage method, including Dropbox, Amazon S3, Rackspace Cloud Files, DreamObjects, FTP, SFTP or WebDAV instead.
Final note before beginning: every WordPress installation on a separate domain will need its own, unique OneDrive Application, as in OneDrive each application requires a fixed root domain to redirect to. (Don’t worry if you don’t understand what this means – just follow all the steps below!).
1. Visit the OneDrive Developer Center, and create a new app
To allow UpdraftPlus to have access to your OneDrive account, go to your Developer Console; click on the “Add an app” button if needed. Then fill in the ‘Application name’ field (enter anything you like – “UpdraftPlus” is fine) and click ‘Create application’.
Note: If accessing the Application Registration Portal directly rather than using a link, you will need to choose to create a ‘Live SDK Application’.
2. Set Redirect URL
Find the redirect URL in the UpdraftPlus OneDrive settings in your WordPress dashboard:

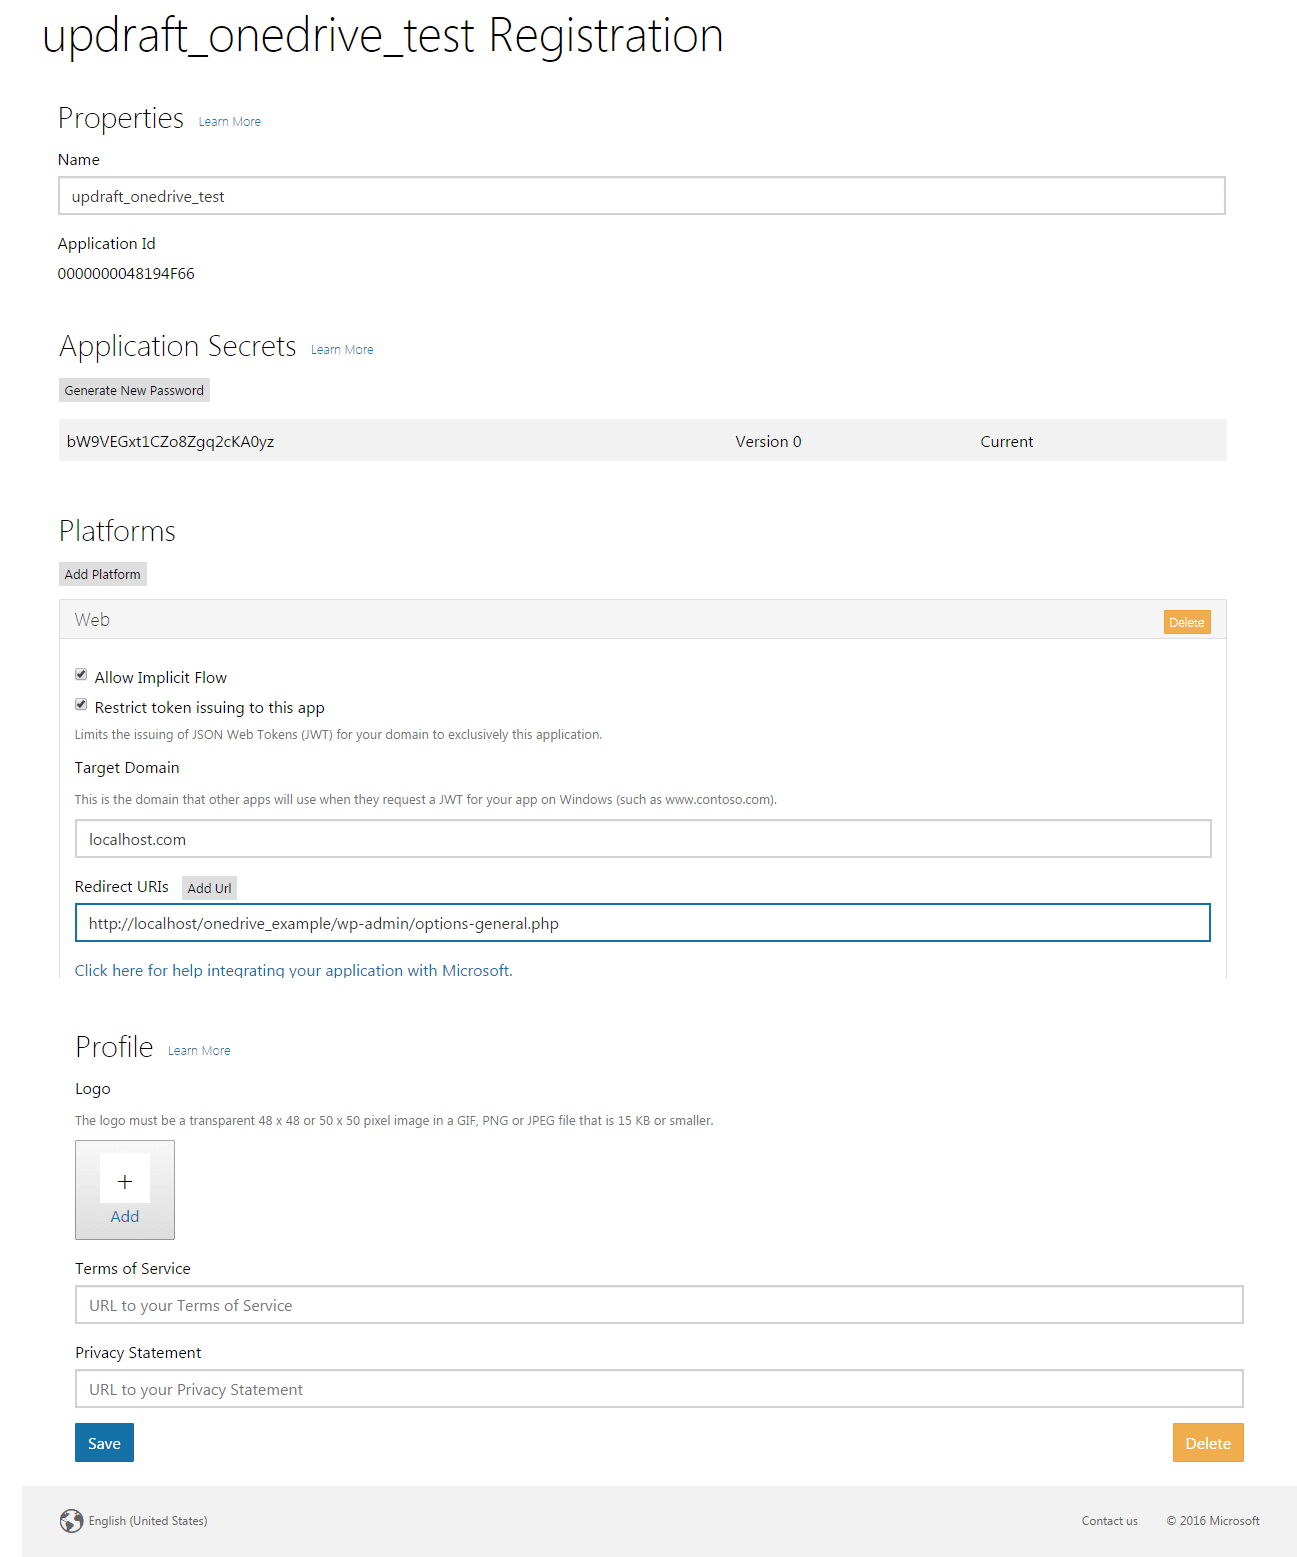
Open the application you created on your OneDrive ‘My Application’ dashboard. Into the ‘Redirect URIs’ field, copy and paste the URL that is shown in the “OneDrive” section of your UpdraftPlus settings page in your WordPress dashboard.

3. Set up access credentials
Follow the ‘App Settings’ link in the OneDrive console. Here you will find the App’s Client ID and Client Secret.

Copy and paste this information into the relevant fields in the UpdraftPlus OneDrive settings. Set a name for the folder on OneDrive that you wish your backups to be stored in (or leave it blank to have it stored in the root of your OneDrive). The folder does not need to already exist – it will be created if not.
Then Save your settings.

4. Authenticate UpdraftPlus
Then follow the link that WordPress will show you, to complete authorisation.

Then you’re done.
