The instructions below are for UpdraftPlus 2.10.3 (June 2015) or later. The instructions assume that you have a compatible UpdraftPlus version installed on both sites, and that both sites are of the same type (in relation to WordPress single or multisite (a.k.a. “Network“) site installs. If you don’t know what this means, don’t worry – people with multisite installs to whom it applies will know about it!).
A note about firewalls: To be able to send site data (e.g. plugins, themes, database) directly to a remote site (e.g. sending a site backup from your development site to your live site), there needs to be no firewall that will block the sending site from visiting the receiving site. This is most likely when sending from a live site on the Internet to a local development site on your personal development machine. (Your personal development machine probably has a firewall, and/or there is a firewall on your Internet router). In that case, you can instead download the backup manually, or you can configure your local development machine to use the same remote storage (e.g. same Dropbox) as your remote site, and (after saving settings) press the “Rescan remote storage” button on the local site’s UpdraftPlus (in the “Existing Backups” tab) to detect the backup.
For a quick video on how to to do this view our direct site-to-site migration video:
Step 1: Connect the two sites
This only needs to be done once. You need to get a “key” from the receiving site, and copy-and-paste it in the sending site. This gives the sending site access. It will have this access until you delete the key.
To do this, go to the UpdraftPlus settings page on the receiving site (i.e. the site that the backup will be sent to), and click on the “Clone/Migrate” button.

A window like the one below should open.
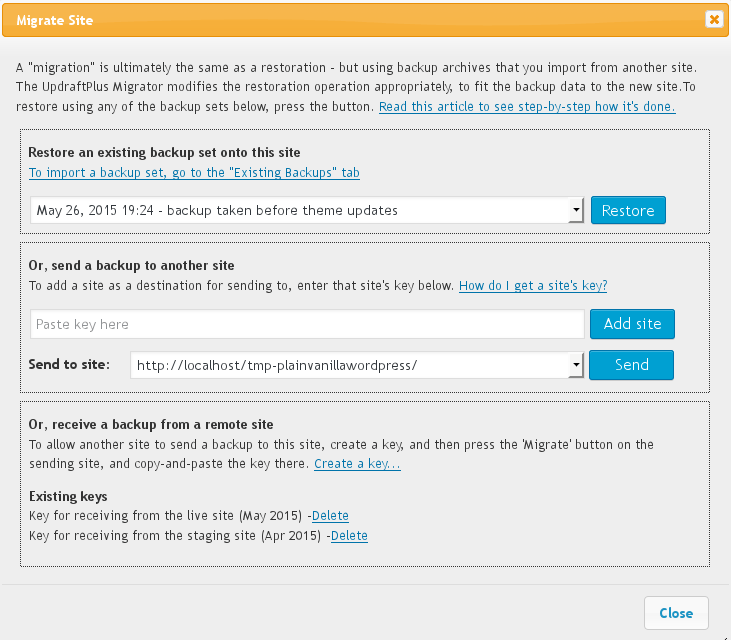
In it, go to the bottom section – the section “Or, receive a backup from a remote site.”
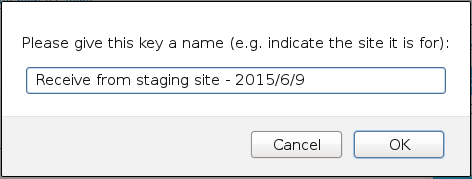
Click on “Create a key…” . You will be asked to give your key a name. You can call it anything you like. The main purpose of the name is to help you to remember which sites you gave permission to send data.
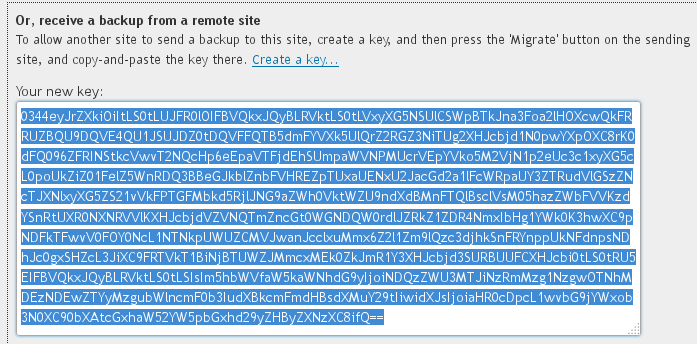
The new key will then be shown. Click on it, and it will be selected. Then all you need to do is copy it to your clip-board. (Press Control-C, or press the right-hand mouse button (or whatever you press to see a menu) and select “Copy”).
Now, go to the same window in the sending site. (i.e. Go to UpdraftPlus on the sending site, and hit the “Clone/Migrate” button).
When the window has opened, go to the second section – the section headed”Or, send a backup to another site“.
There, paste the key in the text entry field next to the “Add site” button. (Press Control-V on your keyboard, or choose “Paste” from a menu).

Press the “Add site” button. It should now tell you that the site has been added, and then show you a “Send to site:” option, for sending to the site that the key came from – like in the next screenshot in step 2, below.
Step 2: Send the backup
We now assume that you have completed step 1. You should now be logged in on the sending site (i.e. the site that is being cloned), and have pressed the “Clone/Migrate” button on the UpdraftPlus settings page, and be looking at the window which then opens.
In the “Or, send a backup to another site” section, choose which site to send to, and press the “Send” button.

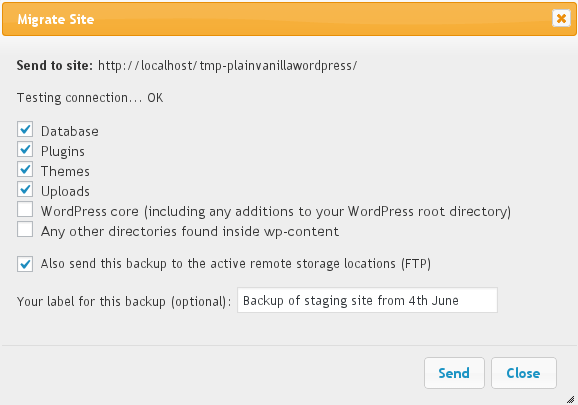
When you do so, UpdraftPlus will then test the connection to the remote site, and (if it succeeds), allow you to choose which parts of your site to send over.
Note that this does not immediately replace the destination site with the backup. Rather, the backup set will be added to UpdraftPlus on the receiving site, and you will restore it there. So, don’t fear – this step is not the final one where everything happens!
After choosing your options, press the “Send” button. UpdraftPlus will then start preparing and sending over the data!
Then watch it go!

Step 3: Restore the backup data on the destination site
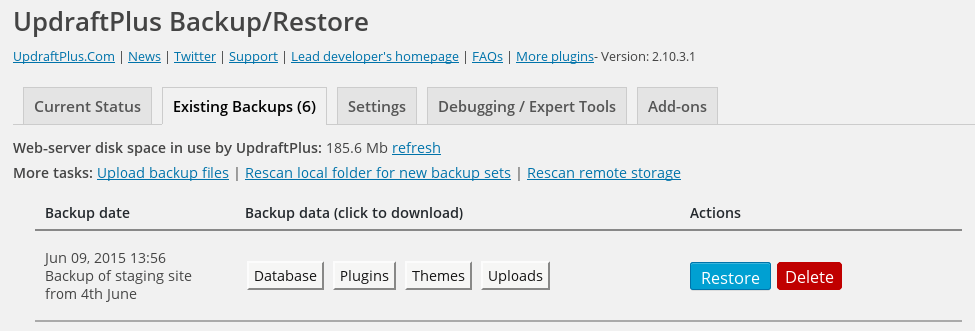
This step is one you’re probably already familiar with. Go to the UpdraftPlus settings page on the destination site, and go to the “Existing Backups” tab. Click the big “Restore” button next to the backup set that you’ve just sent over. (You might need to wait half a minute after the backup finished before it appears). Then restore as normal. Locations (URLs) in your database will be search/replaced, just as normal, when importing a remote site.
If you are not familiar with these steps, then follow this link to the traditional clone/migration instructions, and resume from step 4. (Also go there if something goes wrong – that article has extra links for help with trouble-shooting).
That’s all – easy as that!
