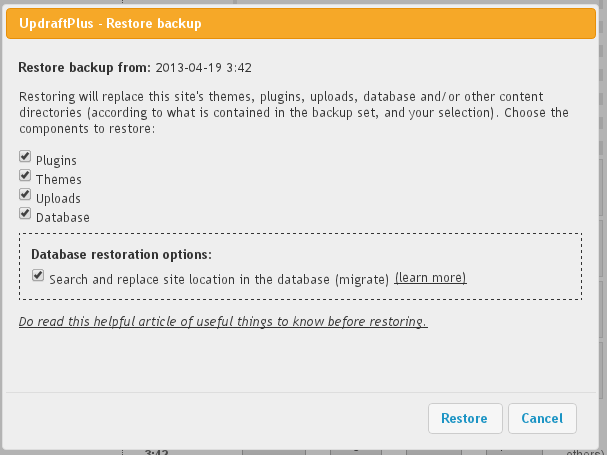
This article is about “migrating” a site – that means, cloning it at a different location (URL). It does not apply to “restoring” a site – when the site’s location stays the same.
In our WordPress migration guide, we recommend checking all the boxes below, including the database restoration options. This step starts a search and replace process in the database to update all location references.

If this checkbox is not ticked, then you will not be able to log in to your new website; WordPress will keep sending you back to the old one.
But, do not worry! It is easily fixable. Just follow these steps:
1. Open up your wp-config.php file in an editor
Connect via FTP to your website (or whatever other method your web hosting company gives you to access the files stored in your webspace). Find the file in the root of your WordPress install called “wp-config.php”, and open it up to edit.
Add these two lines anywhere near another line beginning with ‘define’, but change https://example.com to match the address of your new website:
define('WP_SITEURL', 'https://example.com');
define('WP_HOME', WP_SITEURL);
Then save the newly edited wp-config.php file back to your webspace.
2. Log in to the WordPress admin dashboard
Visit your site’s /wp-admin page (e.g. https://example.com/wp-admin) and now you should be able to log in.
If the whole site has now crashed and you can’t even visit the admin page, then you must have introduced a typing mistake in step 1 – go back and try again!
3. Perform the database migration again
Perform the database migration again, and make sure that the box is ticked. There is no need (and it will only waste time) to re-migrate the plugins, themes, uploads, etc. Keep the browser window in which the operation takes place open, in case anything goes wrong – then you will want to copy and paste the contents so that they can be analysed.
Posted in: Migration, Troubleshooting