You’ve encountered a situation where your website has been hacked, broken, or taken down from the server. Despite your attempts to restore it you’ve unfortunately been unsuccessful.
If you have access to your backed-up files (whether they’re in your email or on Amazon S3, Dropbox, or Google Drive), you can restore them manually.
In this article, we’ll share with you two easy methods for restoring UpdraftPlus backups manually.
Let’s get started!
Method 1: Fresh installation
Step 1: Unpack a fresh copy of WordPress
If you’ve backed up WordPress core files (a feature of UpdraftPlus Premium) you can skip this step. However, if you’re using the free version, the first step is to download the latest version of WordPress to your website.
Make sure to update the file with your correct database details. Remember to copy any other settings you had in your old wp-config.php file, such as multisite settings.
Expert tip: Check out here how to edit wp-config.php file and configure your database.
If your site is changing its URL or moving to a new location, it’s recommended to add WP_HOME and WP_SITEURL parameters to the wp-config.php file as well. This will ensure that your website functions properly after the move.
Step 2: Install UpdraftPlus plugin and upload backups
Now, install and activate the UpdraftPlus plugin (free version) on your website.
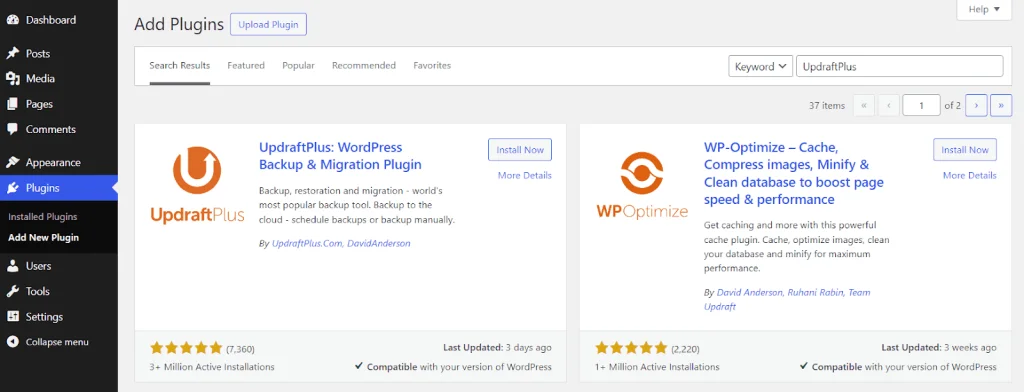
Navigate to Settings > UpdraftPlus Backup area.
Scroll down the Backup / restore tab until you find the Existing backups section. Click the Upload backup files link to upload your backup files.
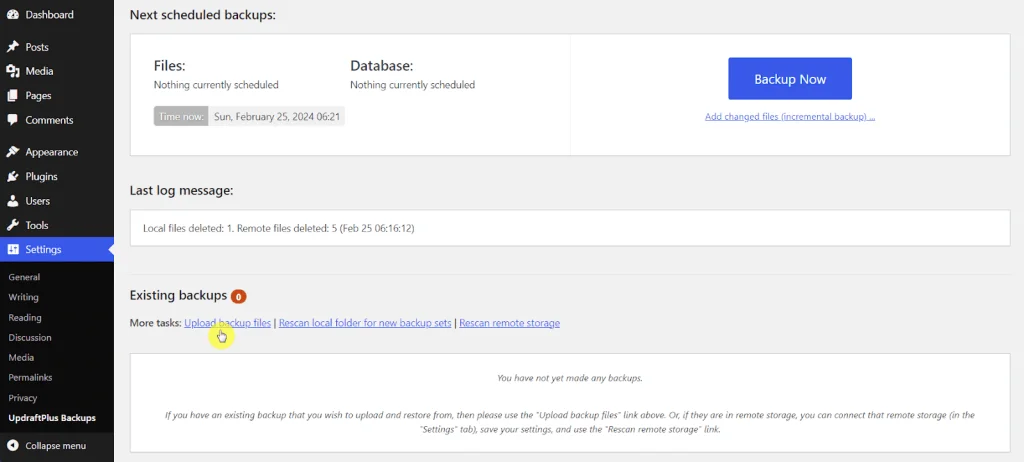
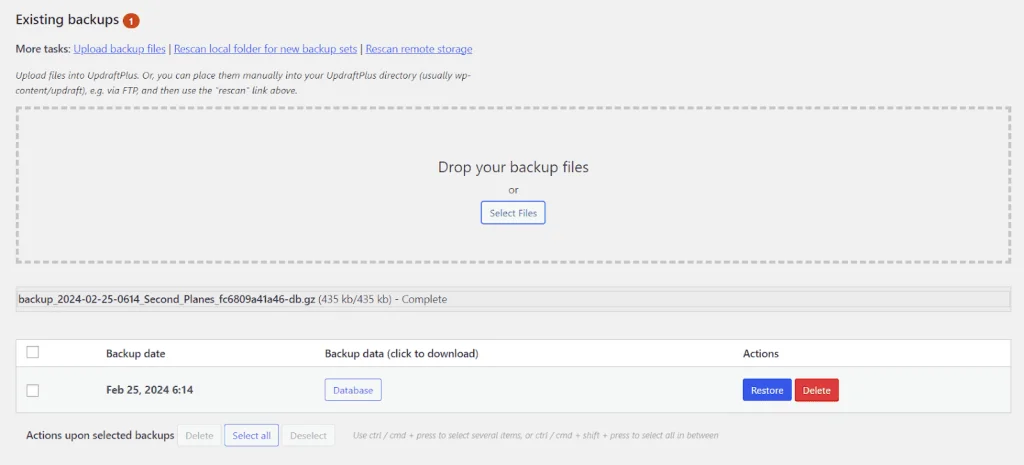
After completing the upload process, you’ll see your backed up files.
Step 3: Import your database
Now, you need to configure your database. Your web hosting provider will most likely give you access to a database manager, typically phpMyAdmin.
If your database was not stored with encryption, you can click on the ‘Import’ option in your database manager, and upload the database file (which ends in db.gz).
Note: some versions of phpMyAdmin only accept a database backup where the e filename ends in the pattern ‘.sql.gz’. To achieve this, you need to change the UpdraftPlus backup filename ending from ‘db.gz’ to ‘db.sql.gz’ before uploading it.
If your database needs decrypting (if the file name ends in gz.crypt) then you need to decrypt it before doing the above step.
Check out our quick guide on database decryption.
Step 4. Restore your backup
Now you can restore your website. Press the Restore button under the Existing backups section to start the process.
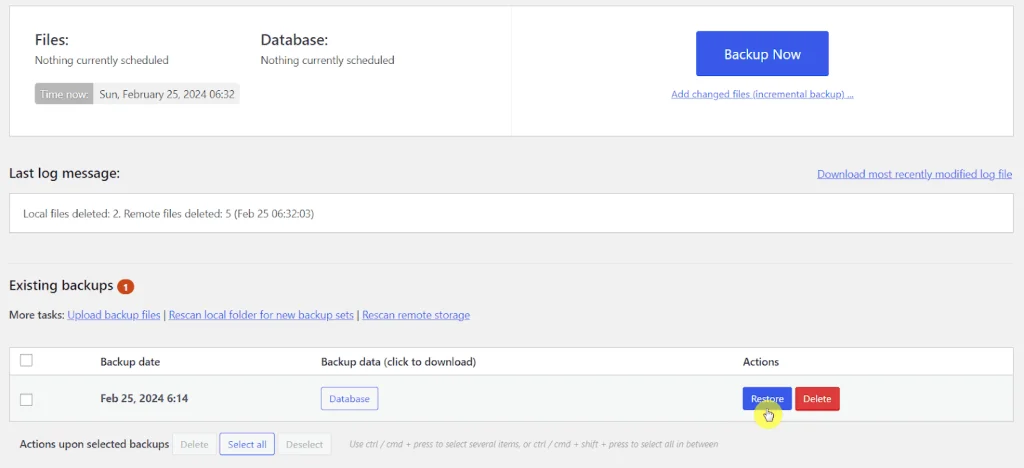
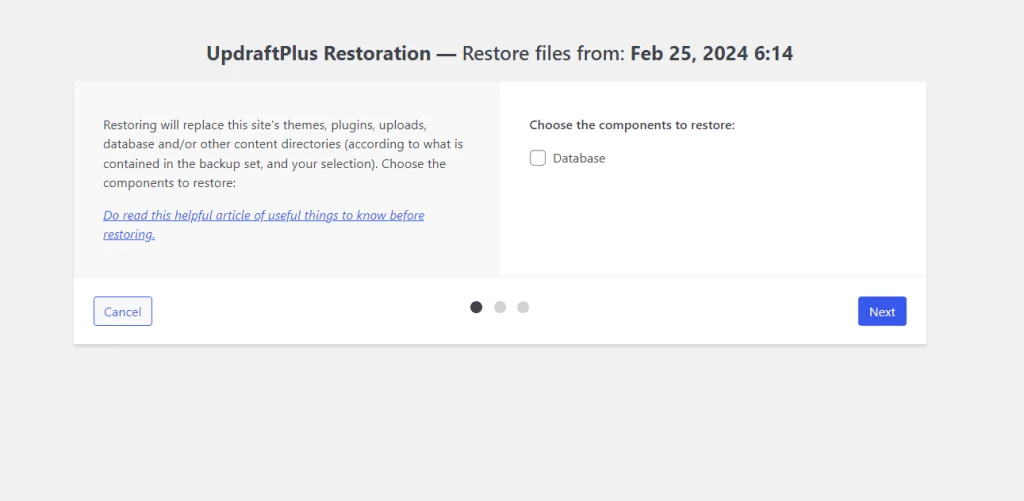
Select your required components to restore. In this example we’ll restore the database only but you can also restore themes, plugins, uploads, and other content.
Click the Next button.
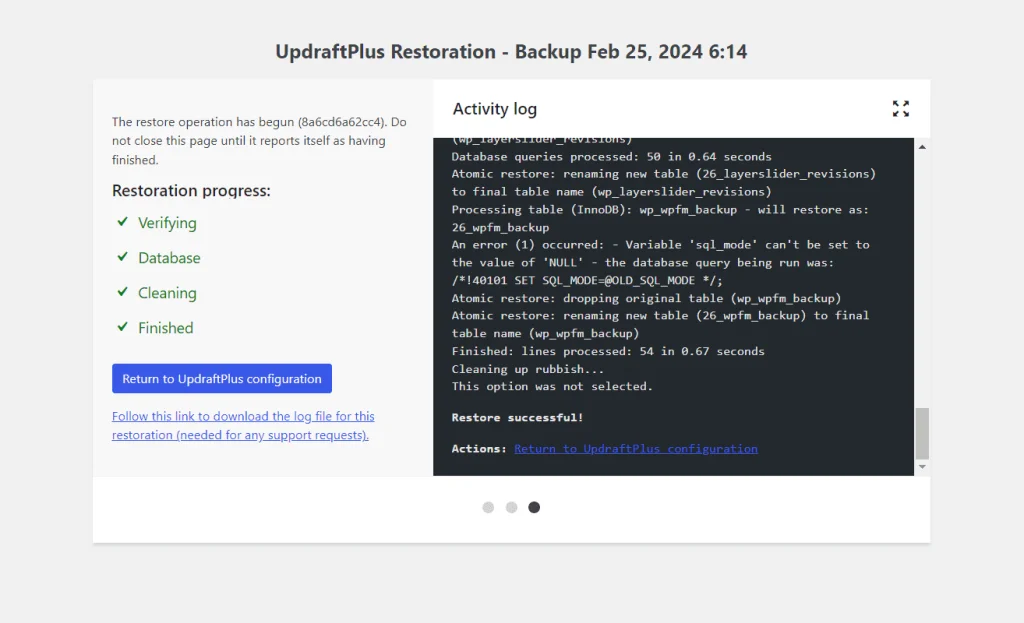
The system will now restore the necessary files. Once it’s done, you will receive a confirmation message.
Method 2: File upload
You can also use an FTP or a similar file transfer service to manually restore your UpdraftPlus backup files to your website.
Follow the below steps:
Step 1: Download your Updraft backup files.
Step 2: Unzip the zip file on your computer.
Step 3: Log in via FTP to your website’s hosting space, and move into the wp-content directory.
Step 4: Copy the contents of the zip file via FTP into wp-content.
For example, if you want to backup ‘plugins’, you’ll be copying over a folder called ‘plugins’ into wp-content, so its final name is wp-content/plugins.
Note: If you have a larger website, your backup might be divided into multiple zip files. By default, UpdraftPlus splits the data into 400MB chunks for better performance. This means that you may have several ‘uploads’ zip files, such as uploads.zip, uploads2.zip, uploads3.zip, and so on. To complete the restoration process, you will need to unzip and upload all of these files. By doing so, the final wp-content/uploads folder will be the result of merging all the unzipped files on top of each other.
Make sure you update your database shown in the first method otherwise, your website won’t be functional.
Final thoughts
By following the methods shared in this article, you can easily restore your UpdraftPlus backup manually. Bring your website back to its previous state and resume your activities without any interruptions.
Frequently asked questions
Here are some frequently asked questions about UpdraftPlus manual restore that people often search for online.
How do I download the UpdraftPlus backup files from cPanel?
- Access cPanel: Sign in to your cPanel account provided by your hosting provider.
- Find File Manager: Look for the File Manager icon or link on your cPanel dashboard. Click to open.
- Locate the backup file: Navigate to the directory where your UpdraftPlus backup files are saved. Usually, it can be found in the /wp-content/updraft directory.
- Finally, you can Download the file and proceed with any of the methods mentioned above to restore your backups.
Why is my UpdraftPlus backup not finished?
There could be several reasons why your UpdraftPlus backup is not finishing:
Large website: If your website is extensive or contains a large number of files, the backup procedure may require a significant amount of time. Please be patient and allow the backup process to finish.
Server resource limits: It’s possible that your server has set resource limits that are causing the backup process to time out or fail. We recommend checking with your hosting provider to determine if there are any restrictions on backup processes.
Plugin conflict: Occasionally, conflicts with other plugins can disrupt the backup process. To troubleshoot this, try temporarily disabling other plugins and check if the backup completes successfully.
Internet connection: If you are backing up your website to a remote destination such as Dropbox or Google Drive, a slow or unstable internet connection could also lead to backup failures.
What is error 500 on UpdraftPlus restore?
If you encounter an ‘Error 500,’ it means that there is an issue with the server itself. To resolve this, reach out to your hosting provider or server administrator and request them to examine the PHP error logs. These logs contain specific details about the error that occurred while restoring the process.
What is UpdraftVault?
UpdraftVault is a remote storage location that’s integrated within UpdraftPlus, so you can connect and back up in just a couple of clicks. It’s built on Amazon S3 which gives 99.99% reliability, redundancy and scalability. UpdraftPlus Premium customers get 1GB of storage space, with the option to purchase more.
![]()
![]()
![]()