Google Cloud is one of the trickiest of the remote access methods to set up. The following instructions should see you through – but if you get stumped, then don’t fear. You can buy a setup support package from our shop; or try out one of the other cloud methods (e.g. Amazon S3, Dropbox, Rackspace Cloud Files – the easiest is Dropbox).
1. Create your Google Cloud Storage account
If you’ve not yet signed up for Google Cloud Storage, then you’ll need to. You need both a Google account, and either to sign up for a free trial, or to become a paying customer for Google Cloud.
2. Visit the Google API console, and create a new project
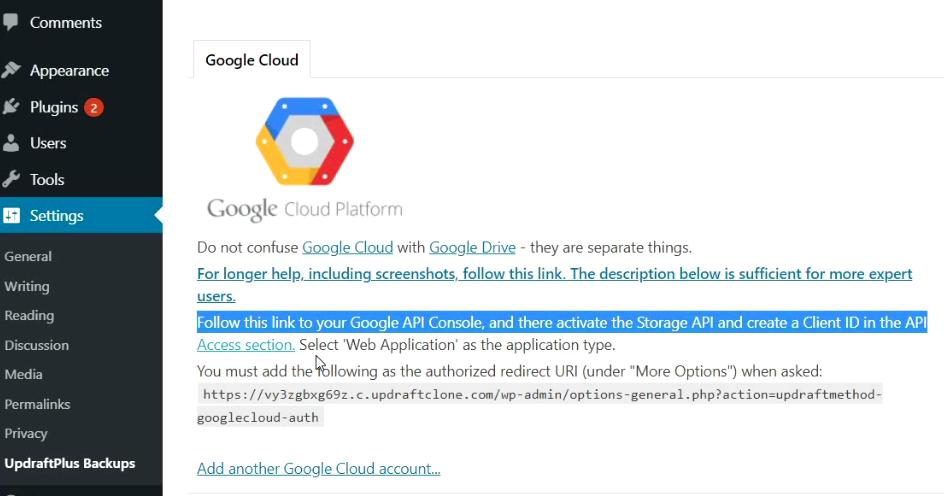
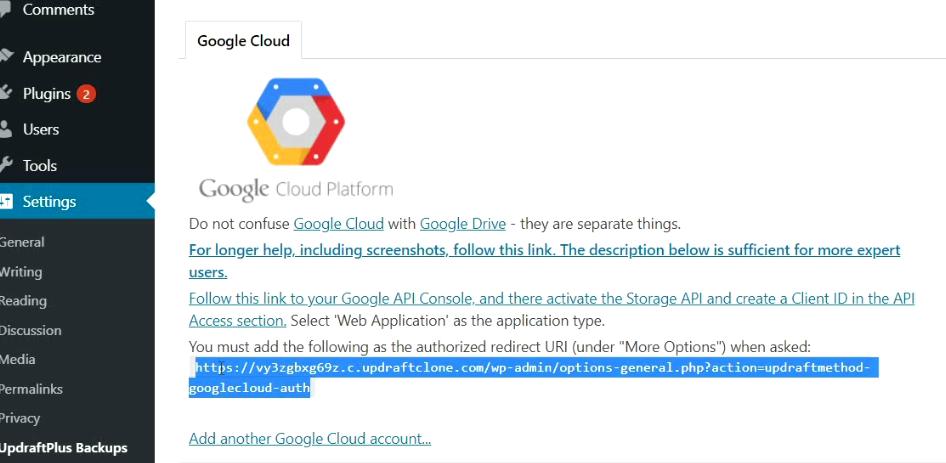
To allow UpdraftPlus to have access to your Google Drive account, click on “Settings” and select “Google Cloud” from the Remote Storage options; then right click on the “Follow this link to your Google API Console” link and open it in a new window.
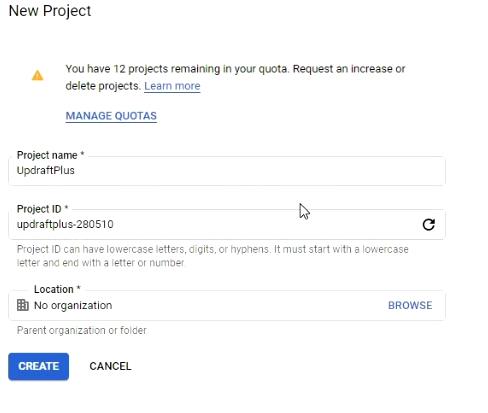
In the newly opened page, press “Select a Project” from the options bar and then “New Project”.

Then fill in this form (just use whatever Project ID Google suggests – it does not matter). Remember to copy and save your “Project ID” name as you will need it later – Then press “Create”.
3. Enable the Cloud Storage Service
Find the Enable API and Services option in your dashboard. Click on this.

Scroll down and search for ‘Cloud Storage Google’ on the list of services:

Click the ‘Enable’ button:

4. Set up a product name and email address
First, you will need to enter some details in the ‘OAuth consent screen’ settings::
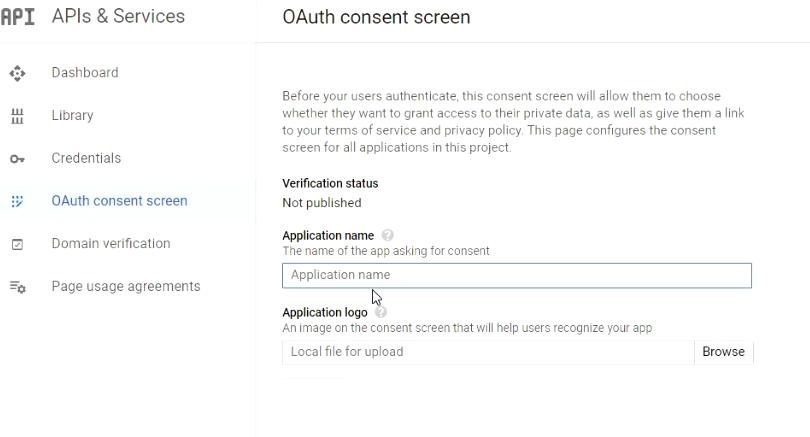
Specifically, you will need to enter a product name and an select an email address. If you see errors later about missing an application name or empty email address, then this is the relevant step. These details are shown back to you in step 7 (below) – Google do not use them for anything else.
Now go to ‘Credentials’ in the left sidebar. This will take you to the Credentials settings for the project.
5. Set up API access credentials (OAuth)
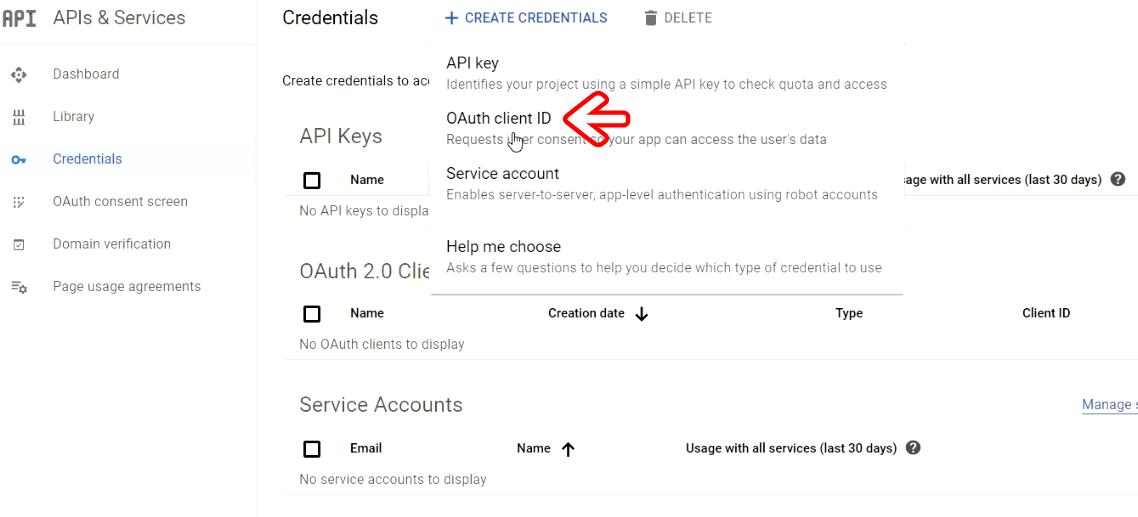
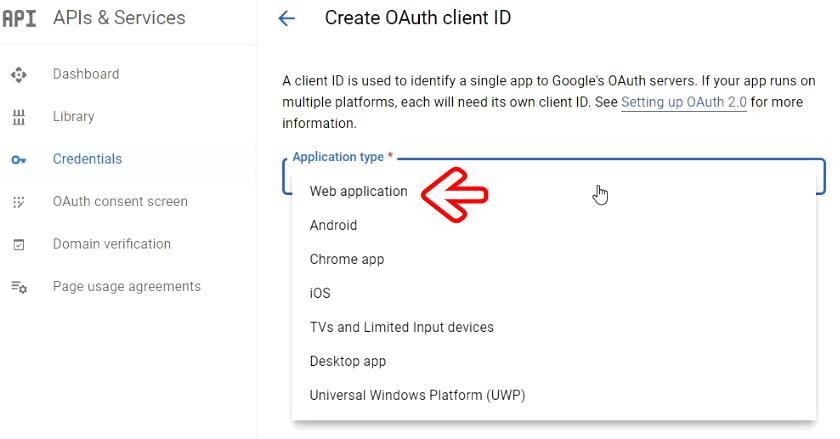
Move to the ‘Credentials’ tab in the API manager, and click ‘Create Credentials’; then click on ‘OAuth client ID’:
Next, enter some details:
- Under ‘Application type’ select ‘Web application’.
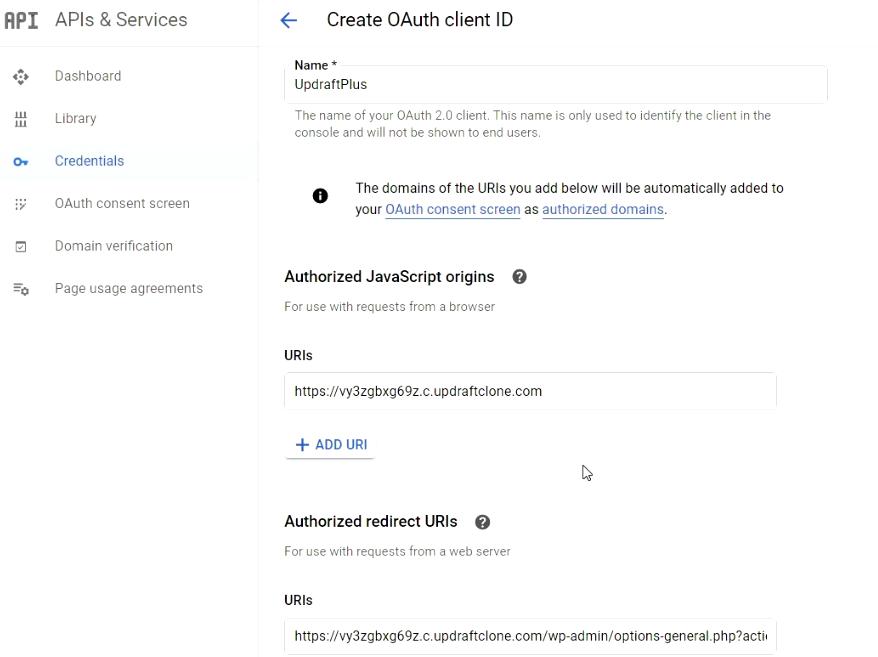
- Under ‘Name’ enter ‘UpdraftPlus’.
- Under ‘Authorized redirect URI’, copy and paste in the URL that was shown to you on your UpdraftPlus settings page back in your WordPress admin console: (do paste it from there – don’t copy any screenshot below)
- For the ‘Authorized JavaScript origins’, enter the domain of the site. This will be the same as the URL you just copied; up to .com. When done click “Create”.
You will then be shown your client ID and secret. Copy both of these somewhere safe for now.
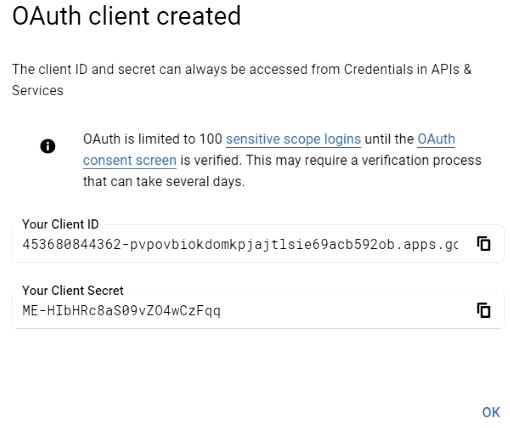
Paste the Client ID, Client Secret and Google Cloud Project ID in the appropriate boxes in your UpdraftPlus Plugin and press “Save Changes” when done.

6. Optional: Create the bucket
This step is optional, because UpdraftPlus can also create the bucket for you (if you enter your project ID in the UpdraftPlus settings).
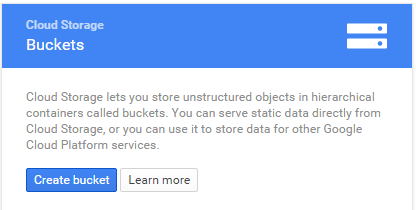
In the left menu, open the ‘Storage’ tab, and open ‘Cloud Storage’ then Browser. You will then be given the option to create a bucket (Note: You may need to enable Billing first):
Click ‘Create Bucket’ and fill in the form. The bucket name needs to be globally unique (i.e. unique to all Google Cloud Storage users). Click “Create”:
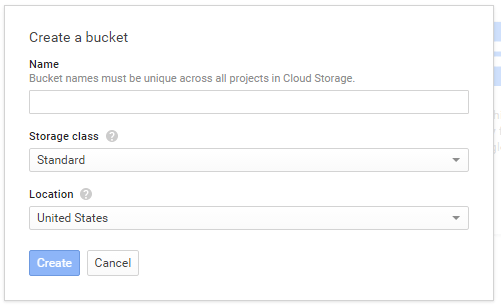
Each project has its own set of buckets. You can now create a folder to store your backups in if you wish.
7. Authorisation
After clicking “Save Changes”, follow the link that WordPress will show you. Tick the boxes and click “Allow” to complete authorisation. The screenshot you then see will be similar to the one below:

Then, you’re done. You can test your settings with the ‘Test Google Cloud Settings’ button, if you wish.
NOTE: If the settings test or backup fails to access Google Cloud Storage, and instead returns an ‘accessNotConfigured’ error, please try joining the ‘Allow Risky Access Permissions By Unreviewed Apps’ Google group. This group was set up by Google to allow users to access personal apps without requiring the app to be reviewed under Google’s new registration process. After joining the group, attempt to re-authenticate with Google Cloud, then test your settings.