When upgrading from your Free version of UpdraftPlus to UpdraftPlus Premium, the process can be a little tricky if it is your first time. As UpdraftPlus Premium is not listed on WP.org, it isn’t as simple as just clicking an upgrade button. But if you follow this easy to use guide, upgrading from UpdraftPlus Free to UpdraftPlus Premium can be quick and easy.
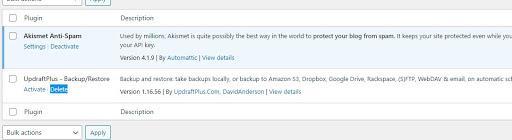
Step 1. Deactivate free UpdraftPlus
Assuming you have the free version of UpdraftPlus installed, you need to deactivate and delete the UpdraftPlus free plugin from your WordPress site.

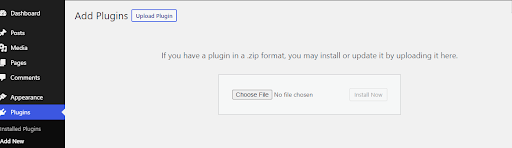
Step 2. Install UpdraftPlus Premium
You now need to install the UpdraftPlus Premium plugin. This can be downloaded by following this link. Save the file to your computer.
Step 3. Activate UpdraftPlus Premium
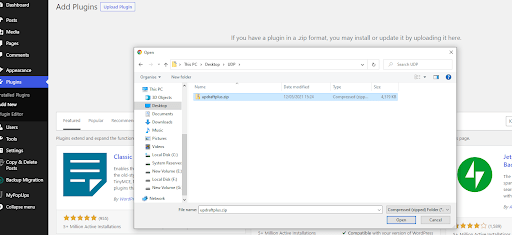
Next, go to your WordPress site and choose ‘Add New’ plugin. Select the ‘Upload Plugin’ button. Now select the UpdraftPlus Premium file you just downloaded (it can usually be found in the “Download” folder on your PC) and press ‘Open’ and activate.
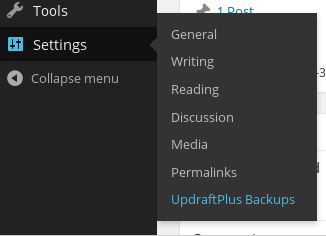
Step 4. Navigate to your settings
Your UpdraftPlus Premium plugin should now be installed. Go to ‘Settings’ and you should now see ‘UpdraftPlus Backups’.
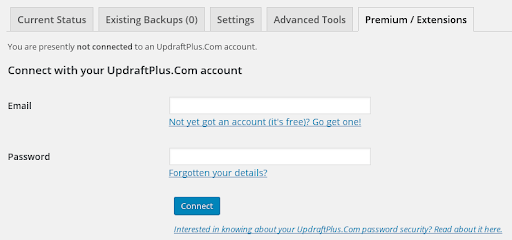
Step 5. Connect your UpdraftPlus account to the Premium plugin
You now need to connect your UpdraftPlus account to the Premium plugin. To do this, go to Premium/Extensions and log in using your UpdraftPlus.com account details and press ‘Connect’.
Step 6. Check any add-ons you may have purchased
You are now connected to UpdraftPlus Premium. To claim any add-ons you may have purchased (such as Azure remote storage backup), remember to press the ‘Activate it on this site’ button, which will allow you to use your purchased add-on feature with your WordPress site.

Step 7. Refresh your connection
Finally, refresh the connection by pressing the below link and you are good to go. All Premium features and add-ons should now be available.

Step 8. Set up your backup schedule
Don’t forget to then go to the UpdraftPlus settings page to set your backup schedule and press the save button at the bottom of the screen!

Download UpdraftPlus Premium today. If you require further detailed instructions, more information can be found here. Be sure to comment and let us know if you have any questions.
![]()
![]()
![]()